Description
Video guide coming soon
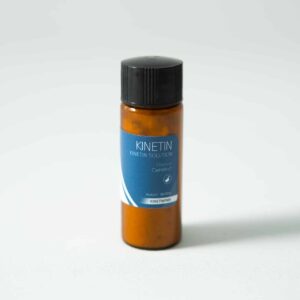
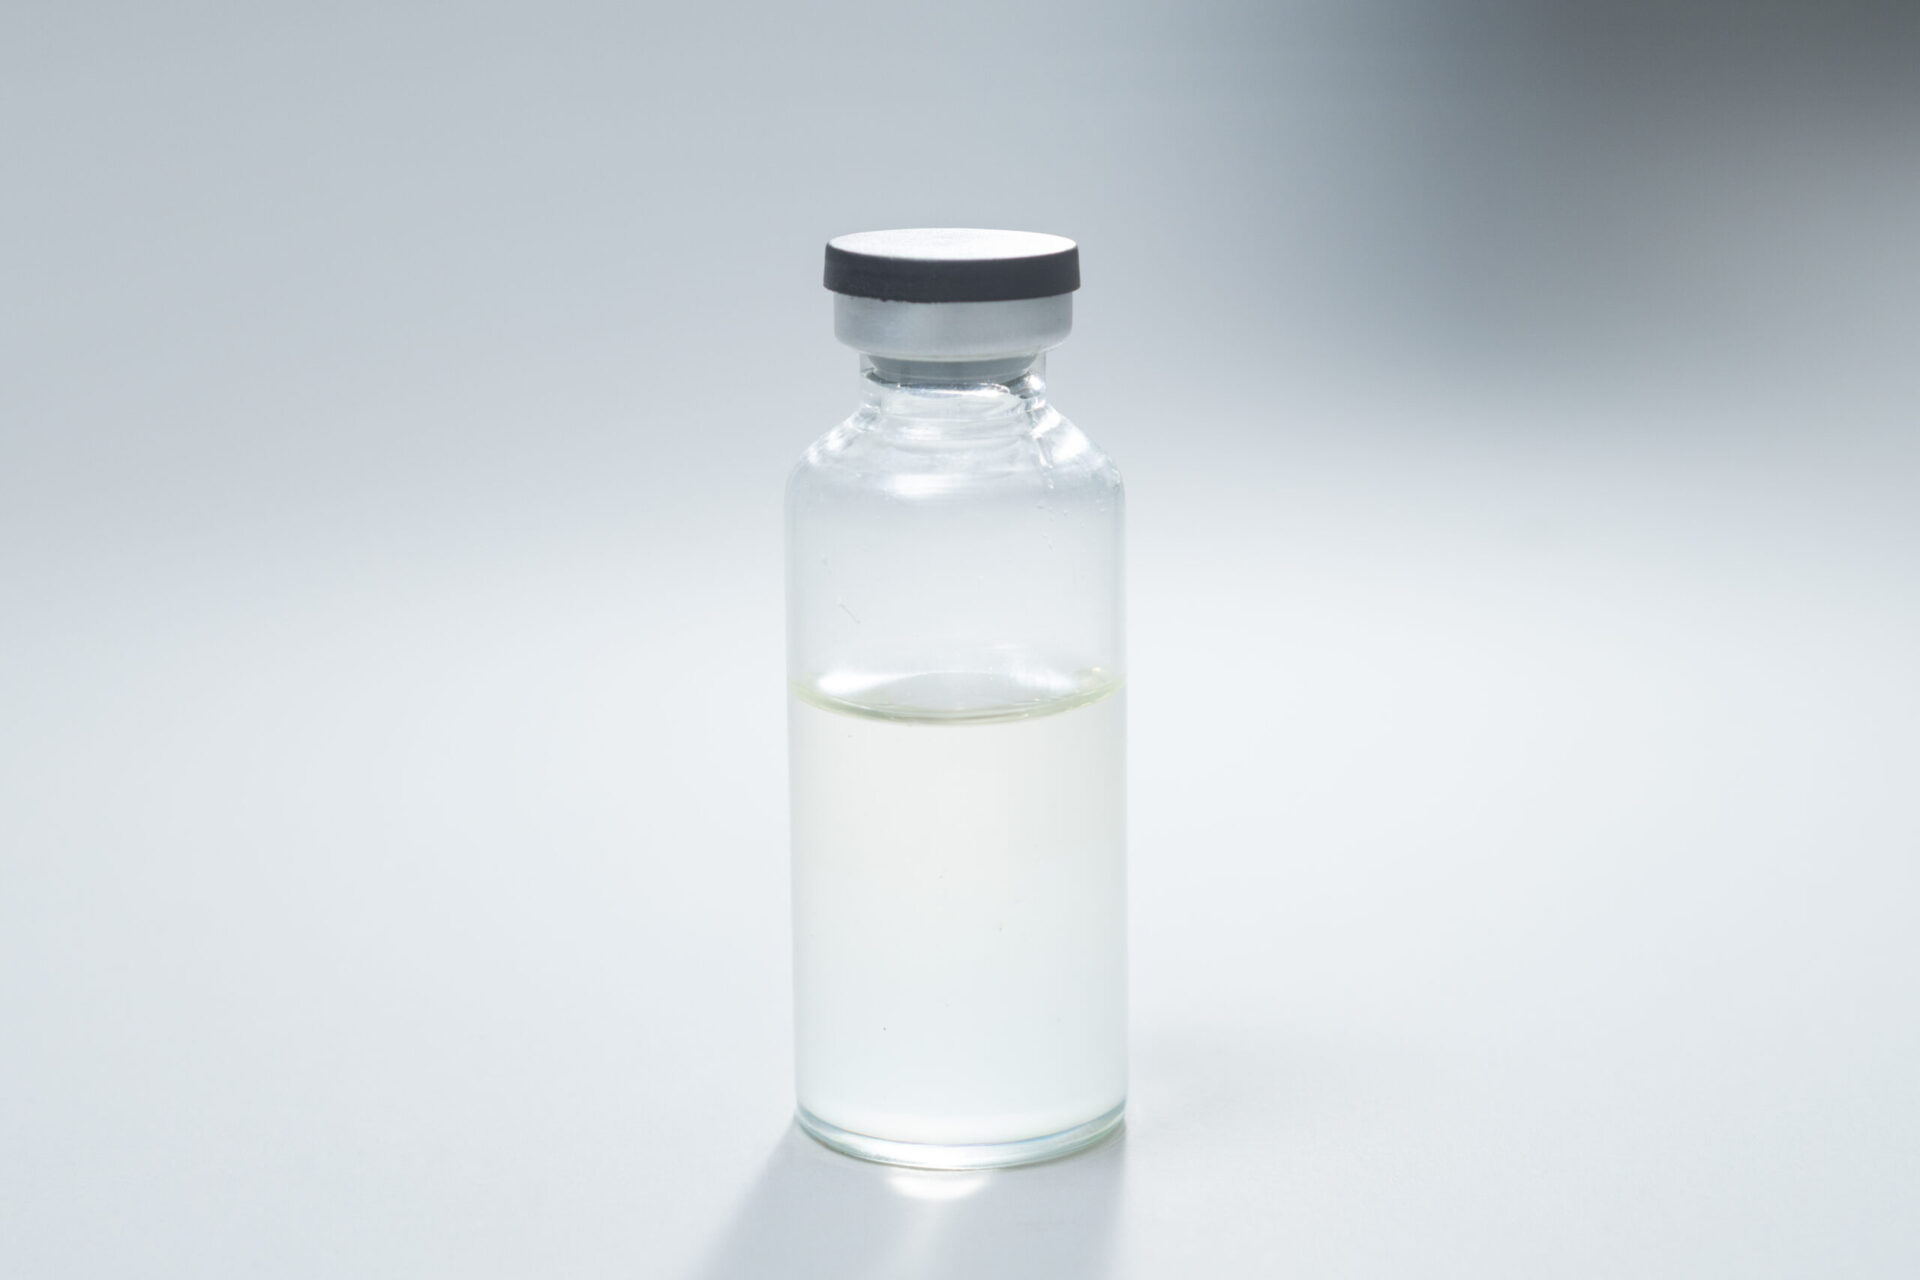
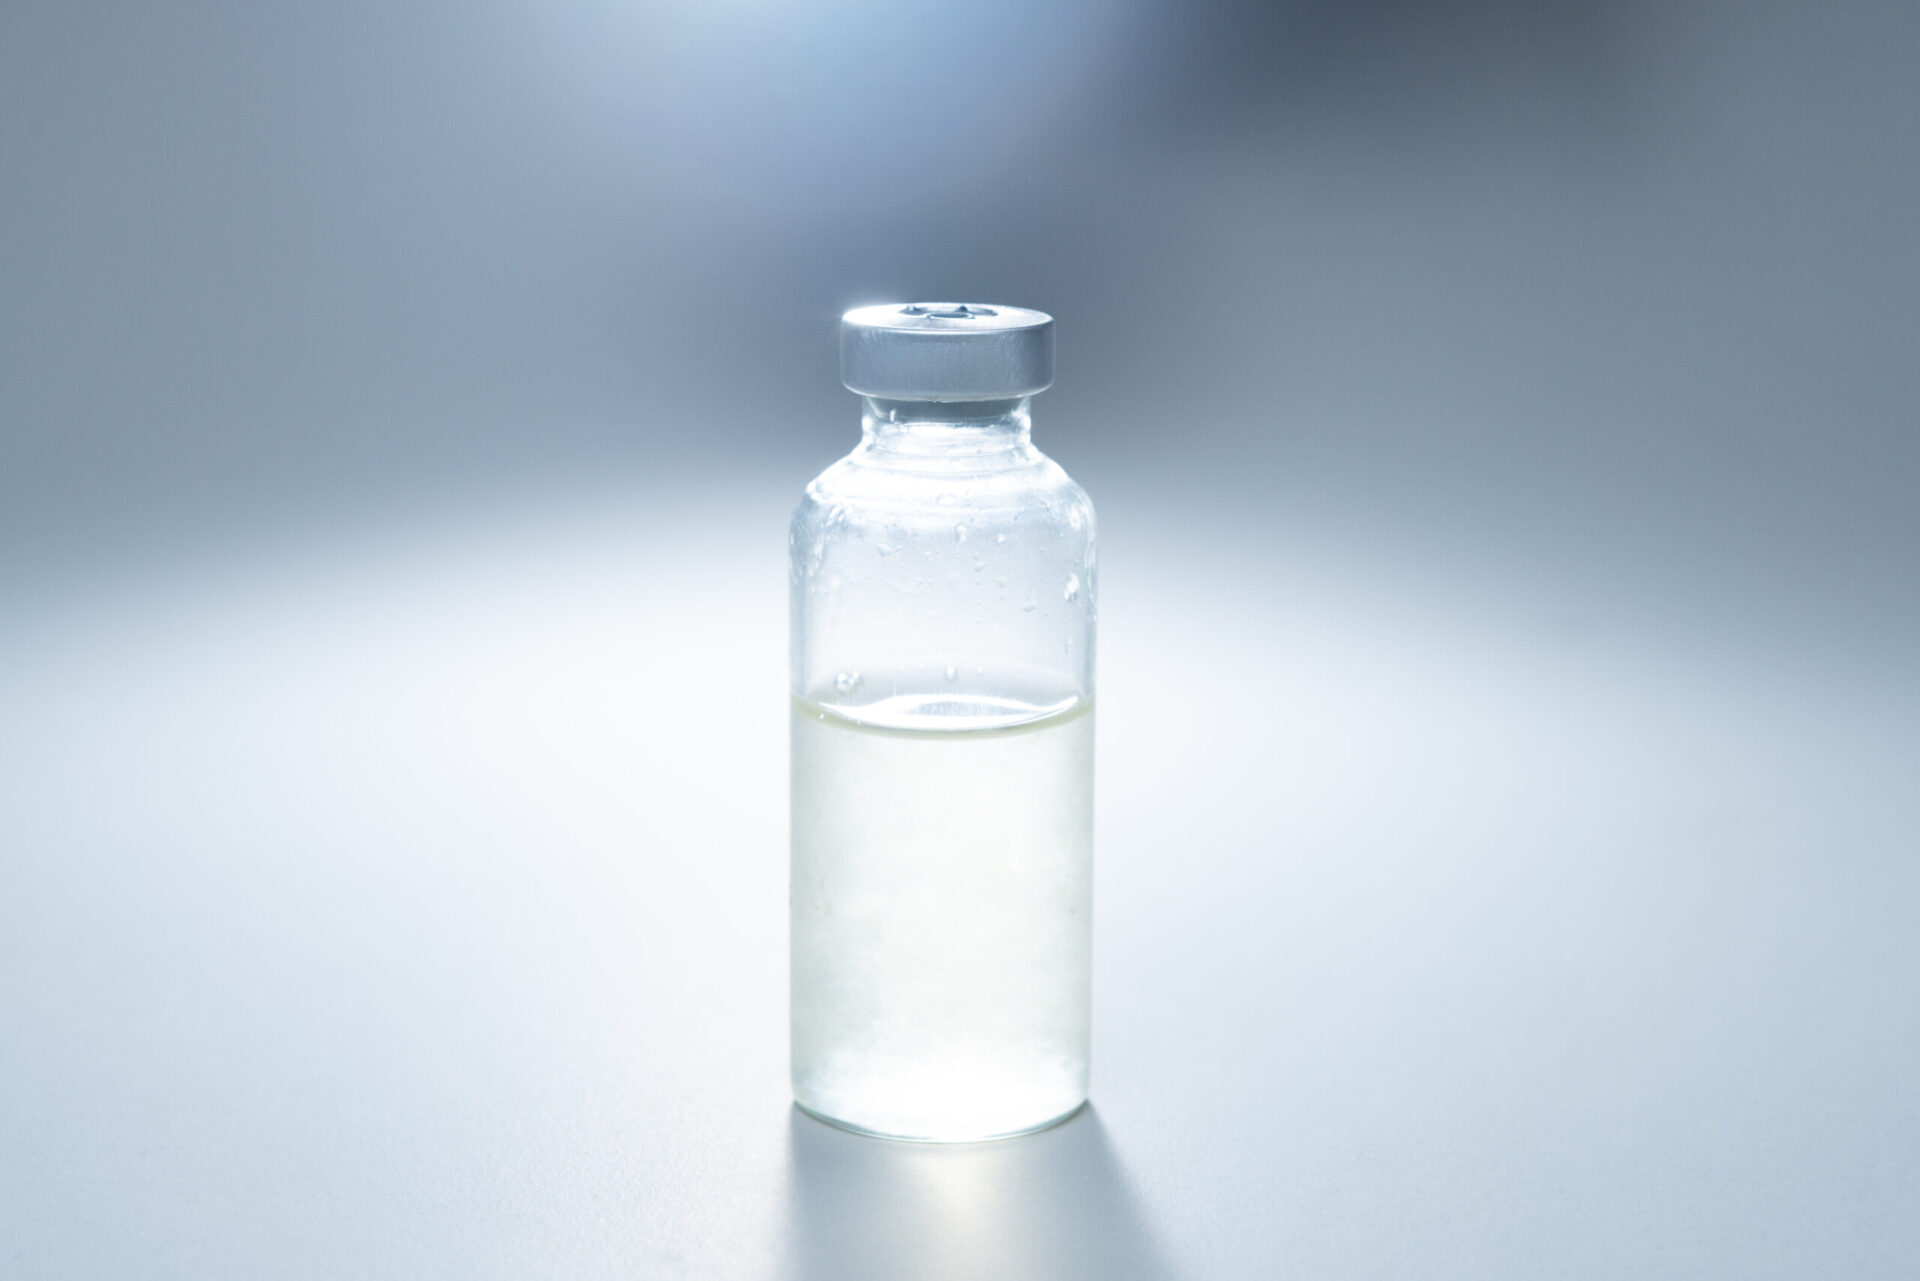
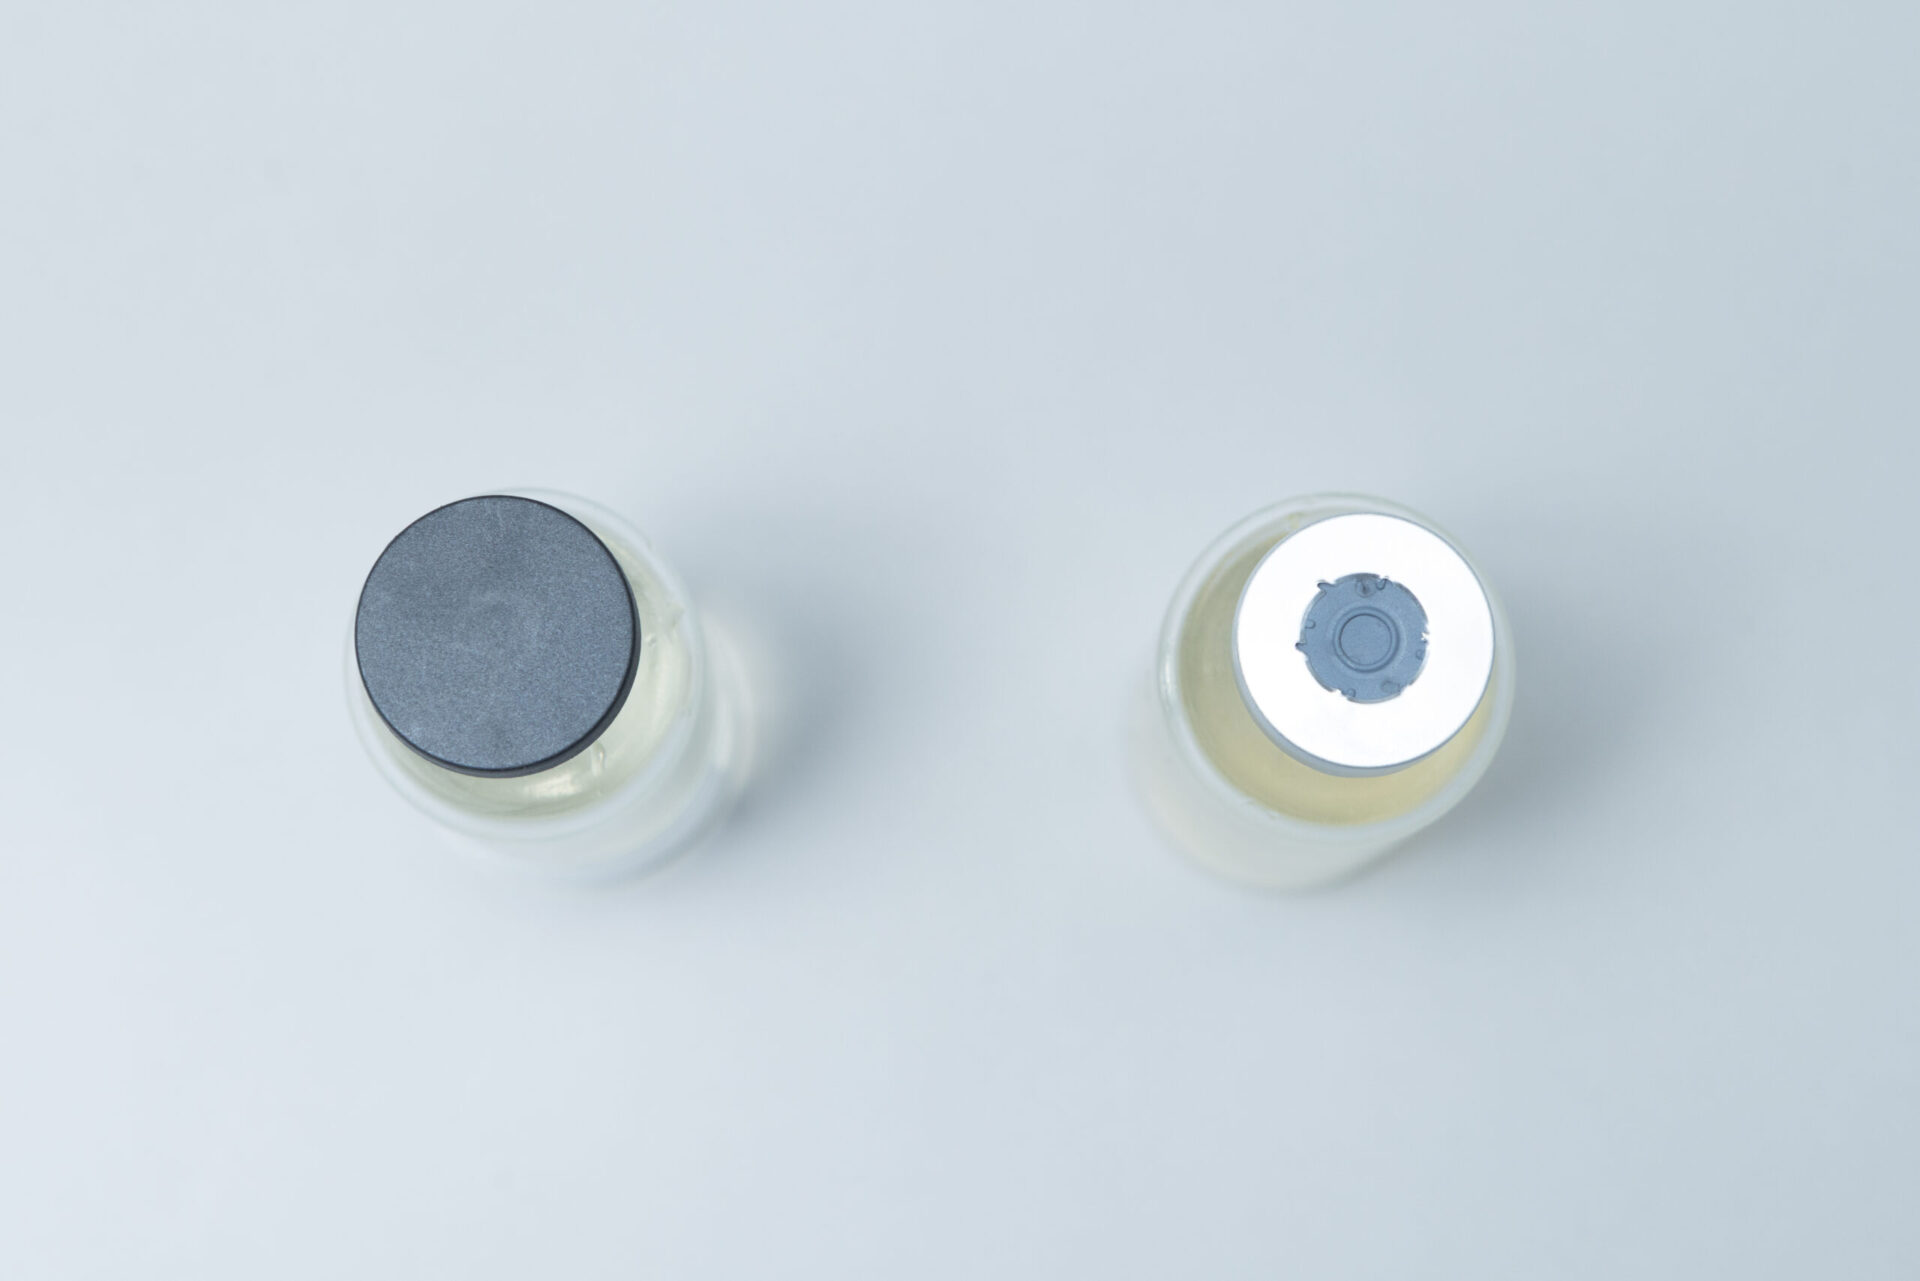
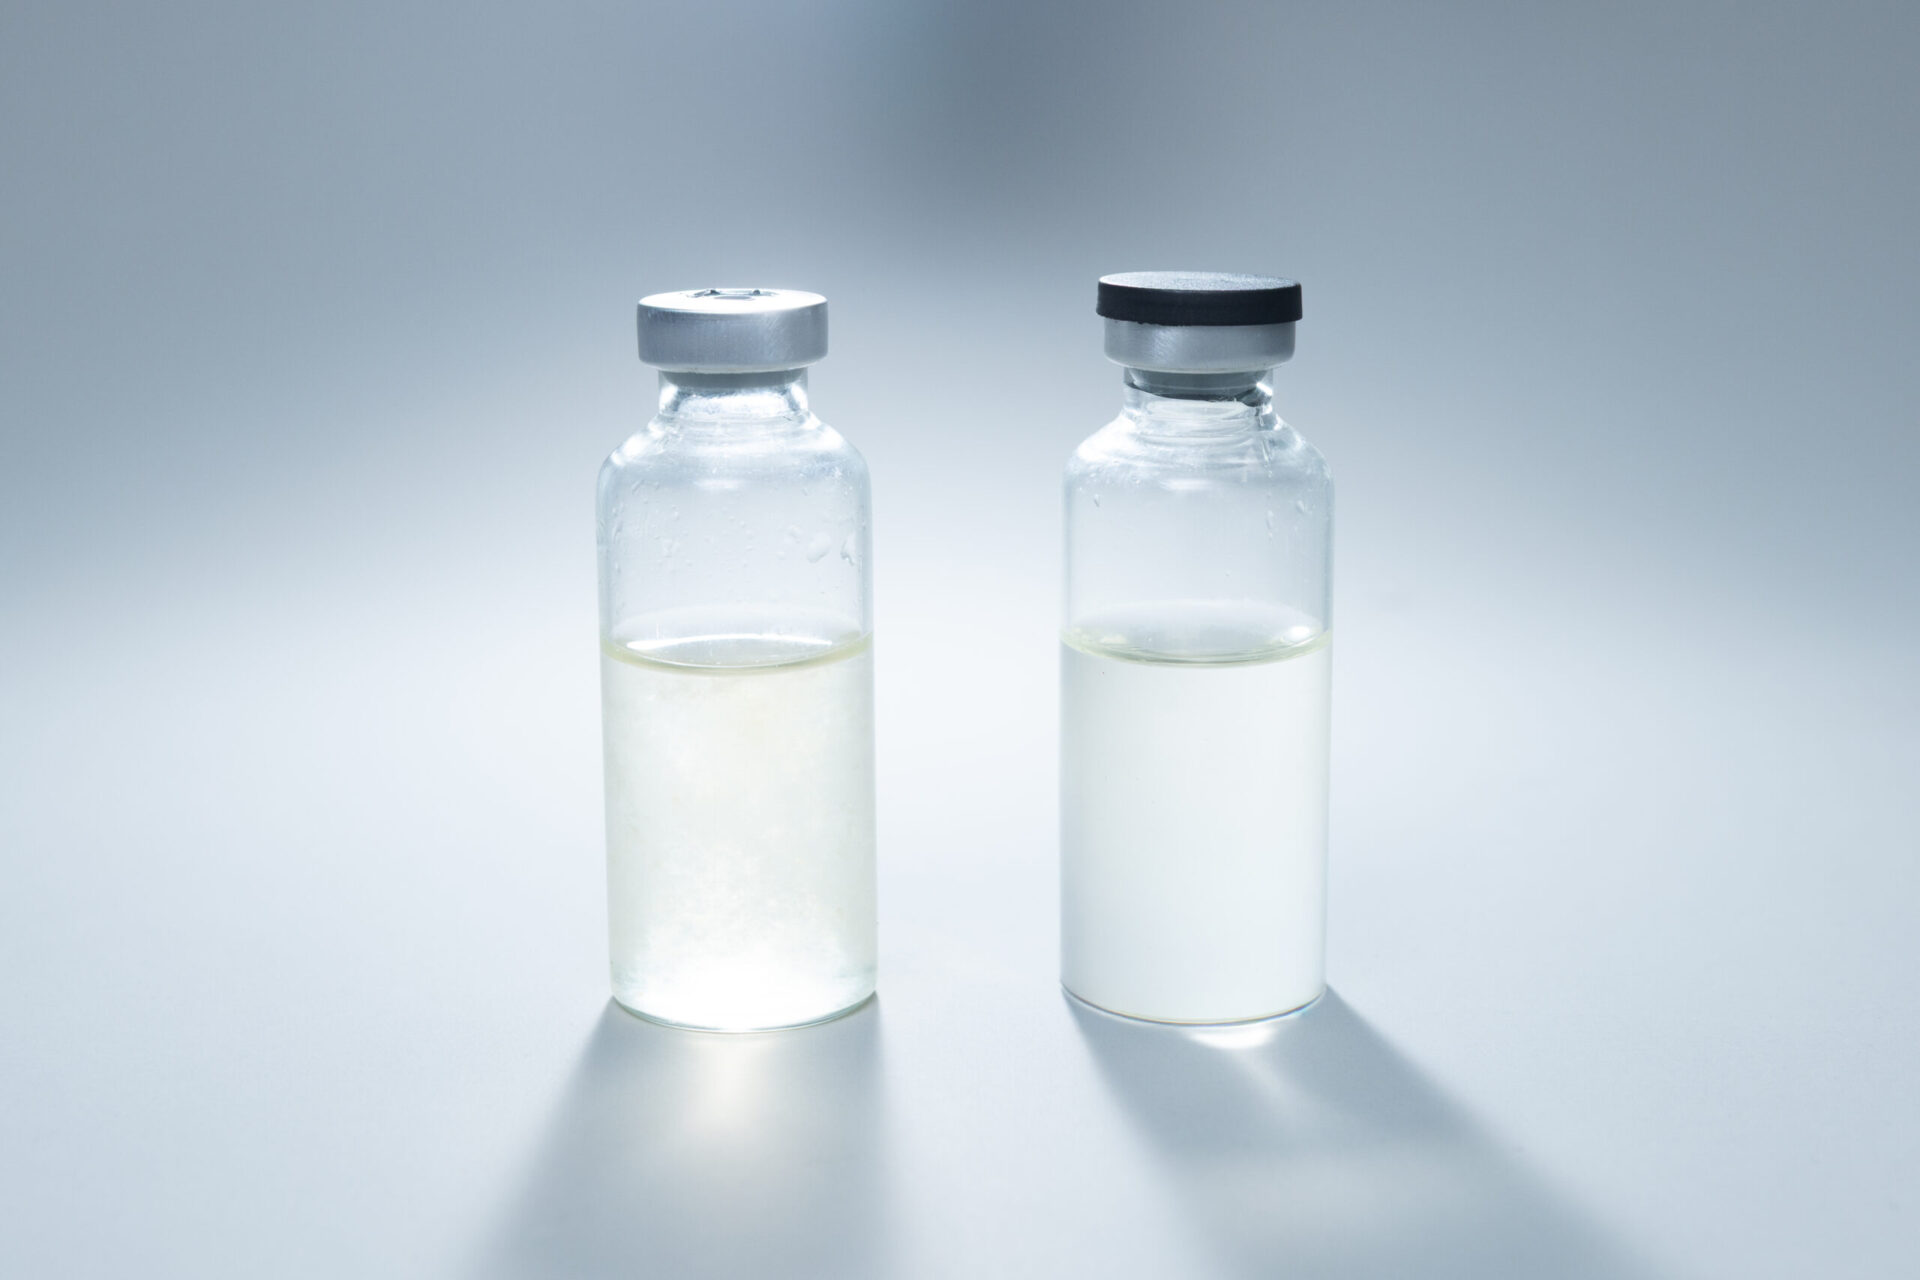
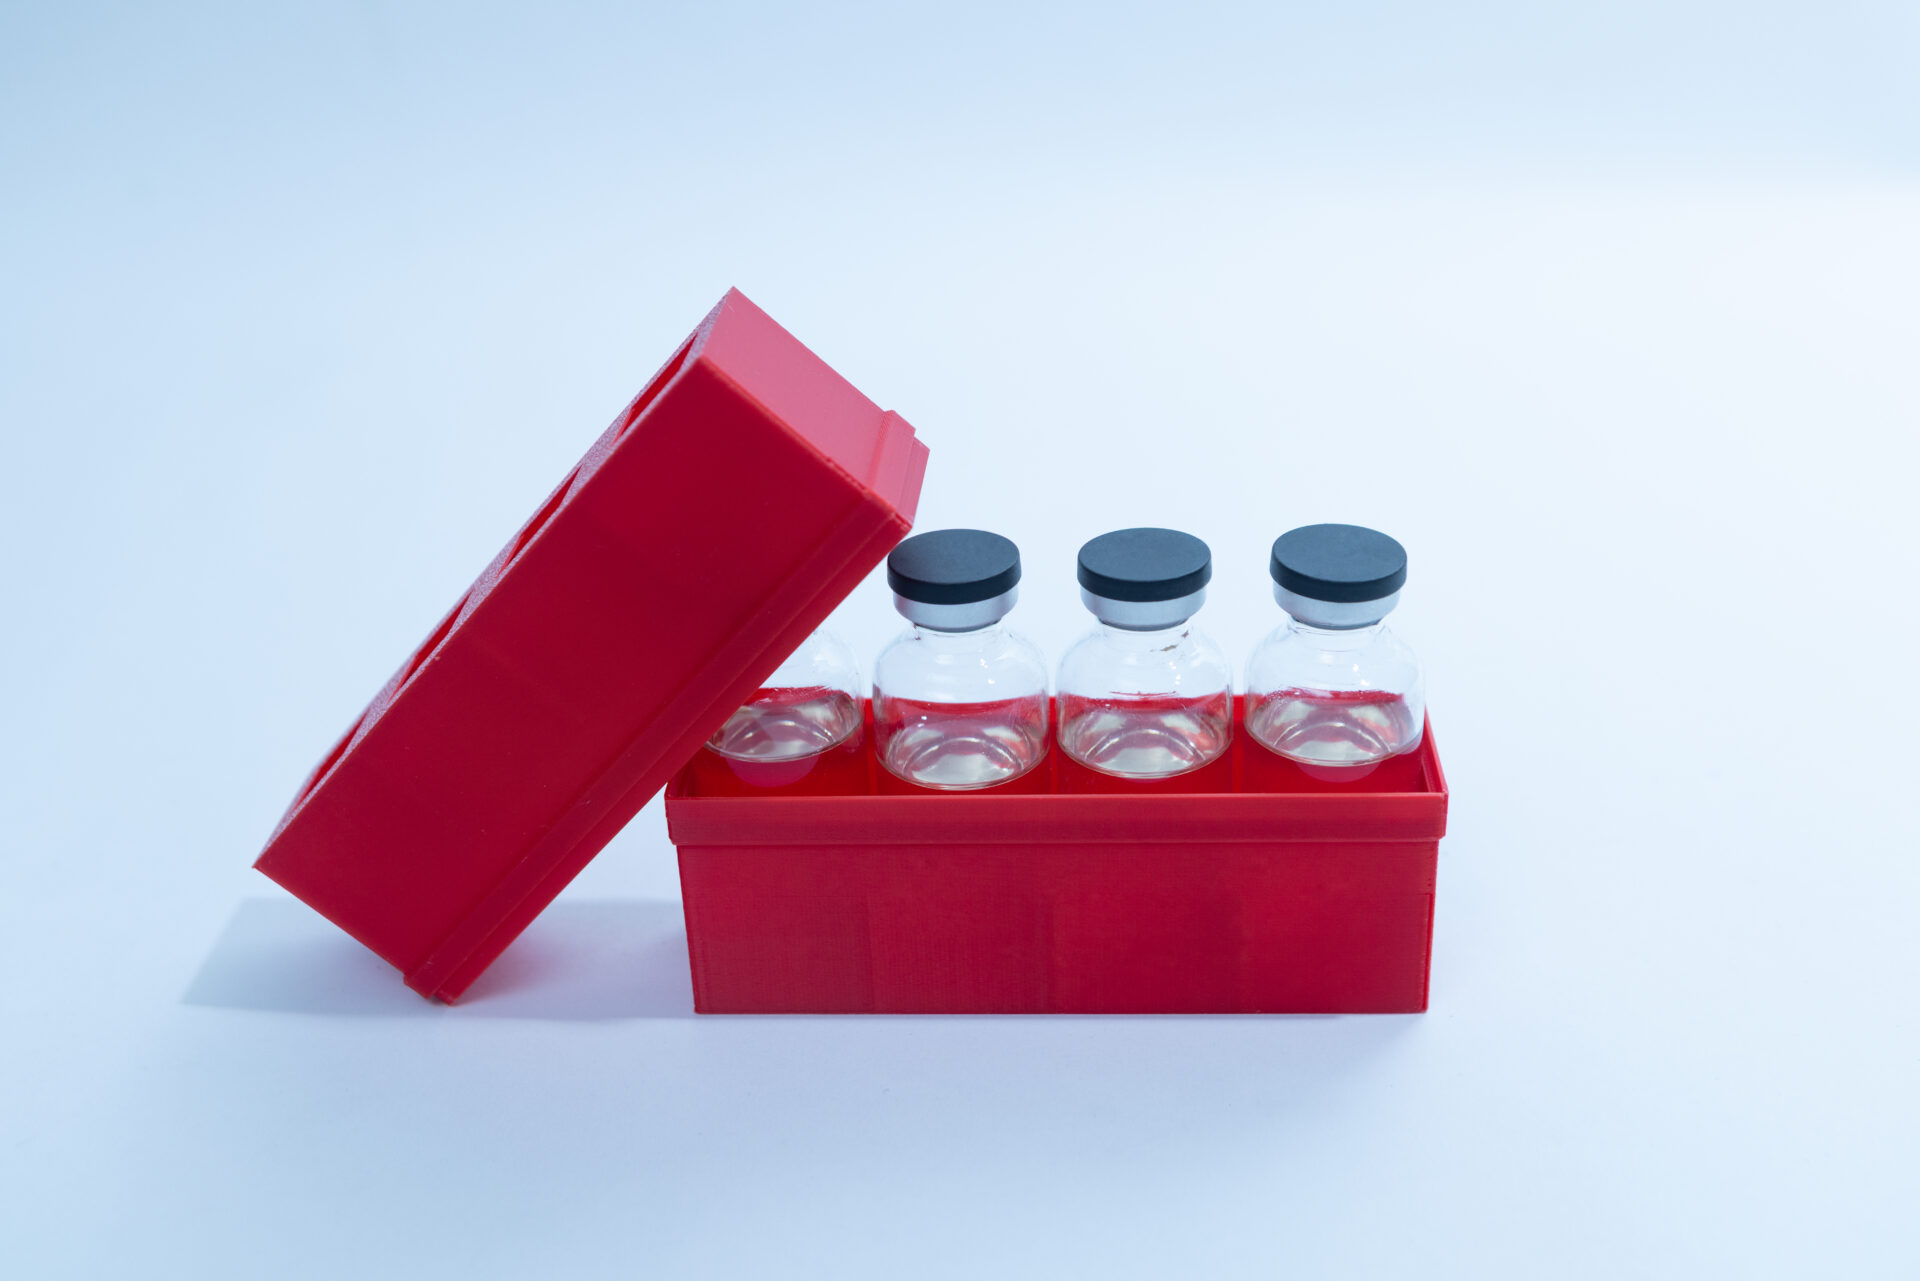
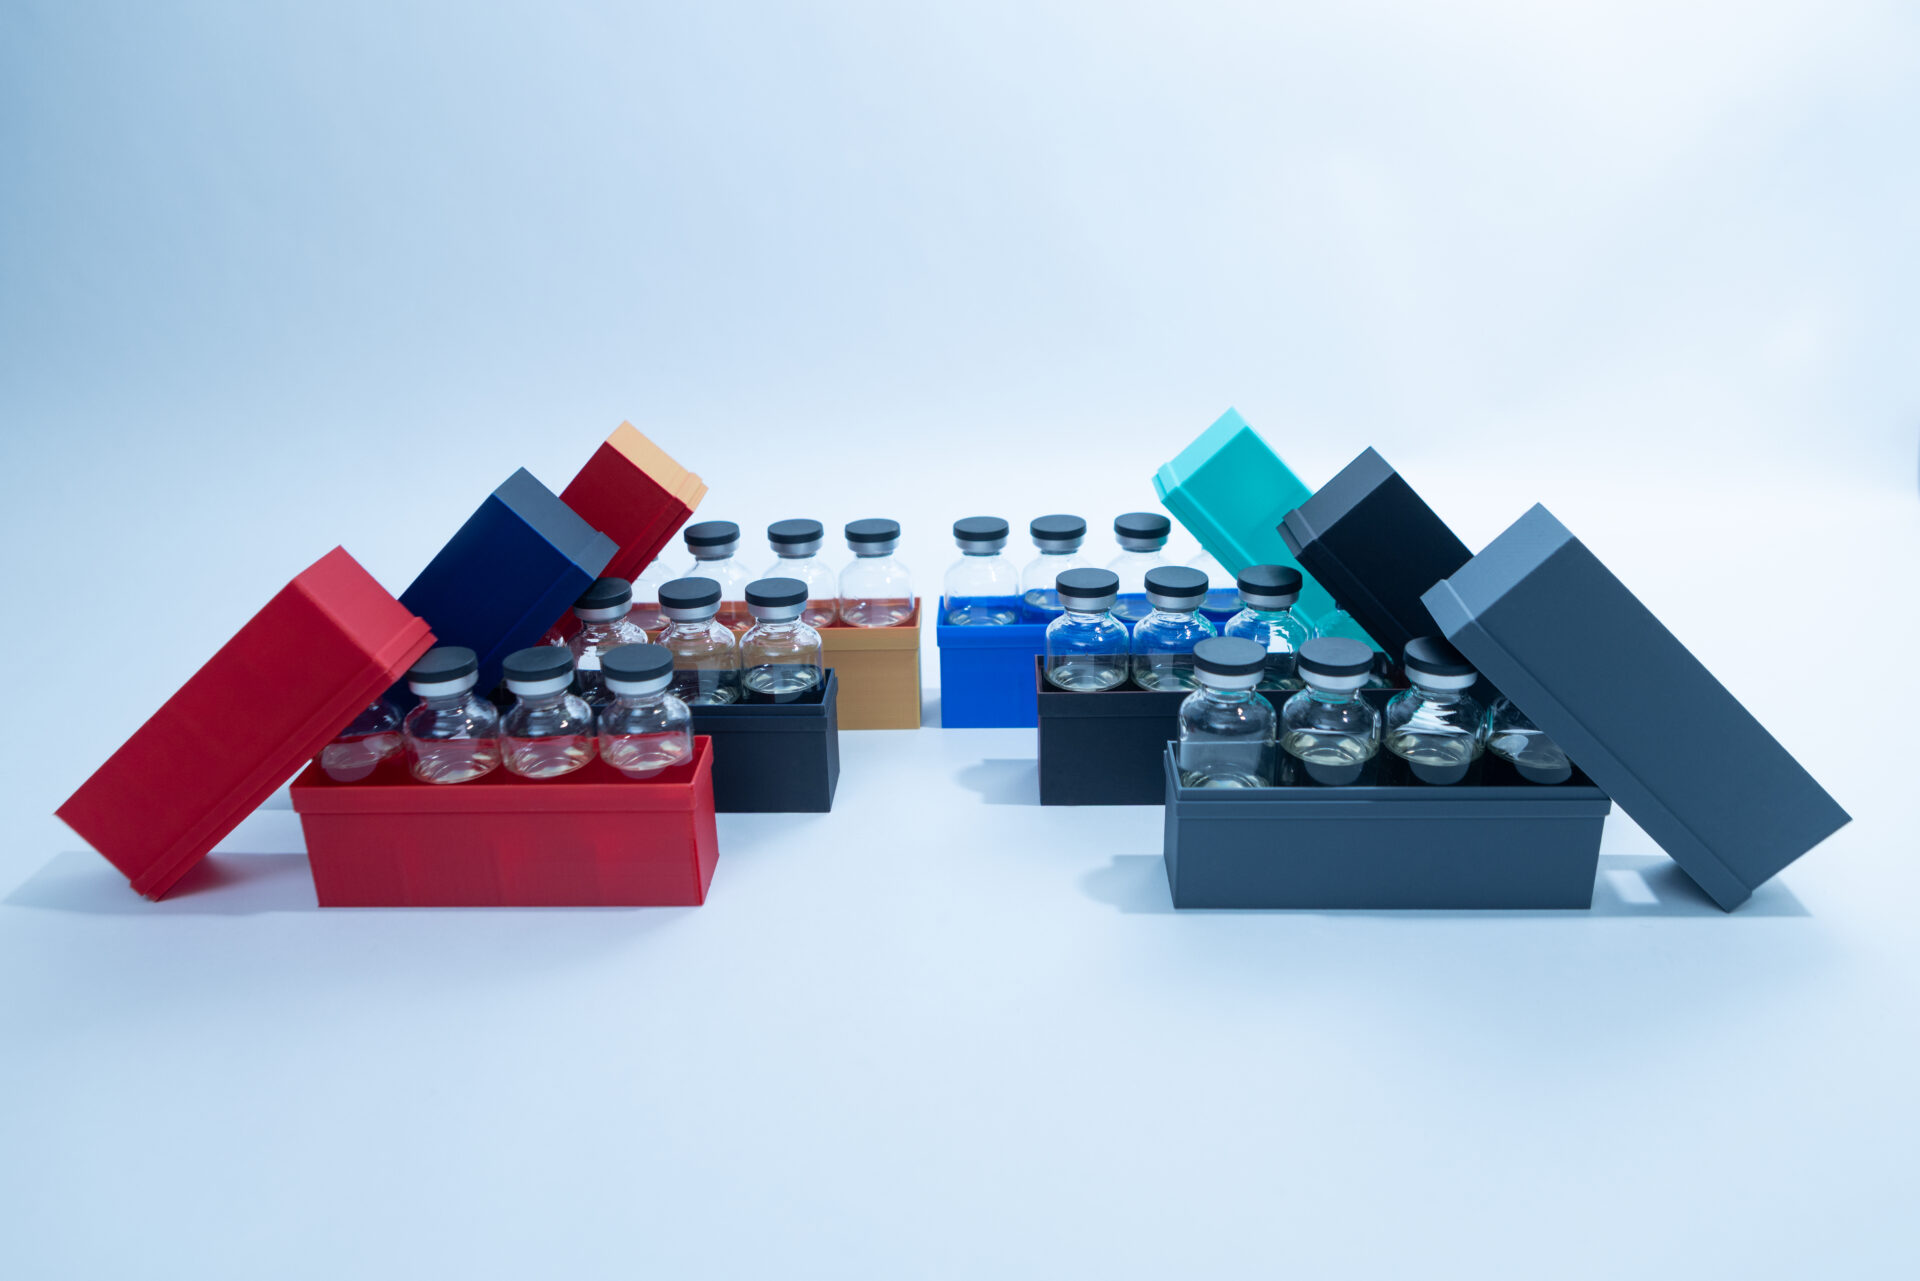
Pre-filled, pre-sterilised liquid culture vials, ready to inoculate the moment they arrive. 18 to 22 ml of Dr Myc Adaptive LC in a 30 ml vial with generous headspace and dissolved oxygen. Self healing butyl septum(stopper) under an aluminium crimp seal, so you inoculate straight through the needle. No autoclave, no pressure cooker, no jars, no port lids. Clone a wild find, clone your own fruit, transfer from agar, or turn one syringe into ten vials.
Vials can be stored for over a year unused. Used and completely colonised vials can be stored for only 2-6 weeks in the fridge. Storing at 2°C wil result in longer shelf life over storing at 4°C or 6° C or even room temperature.
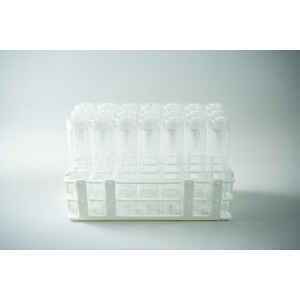
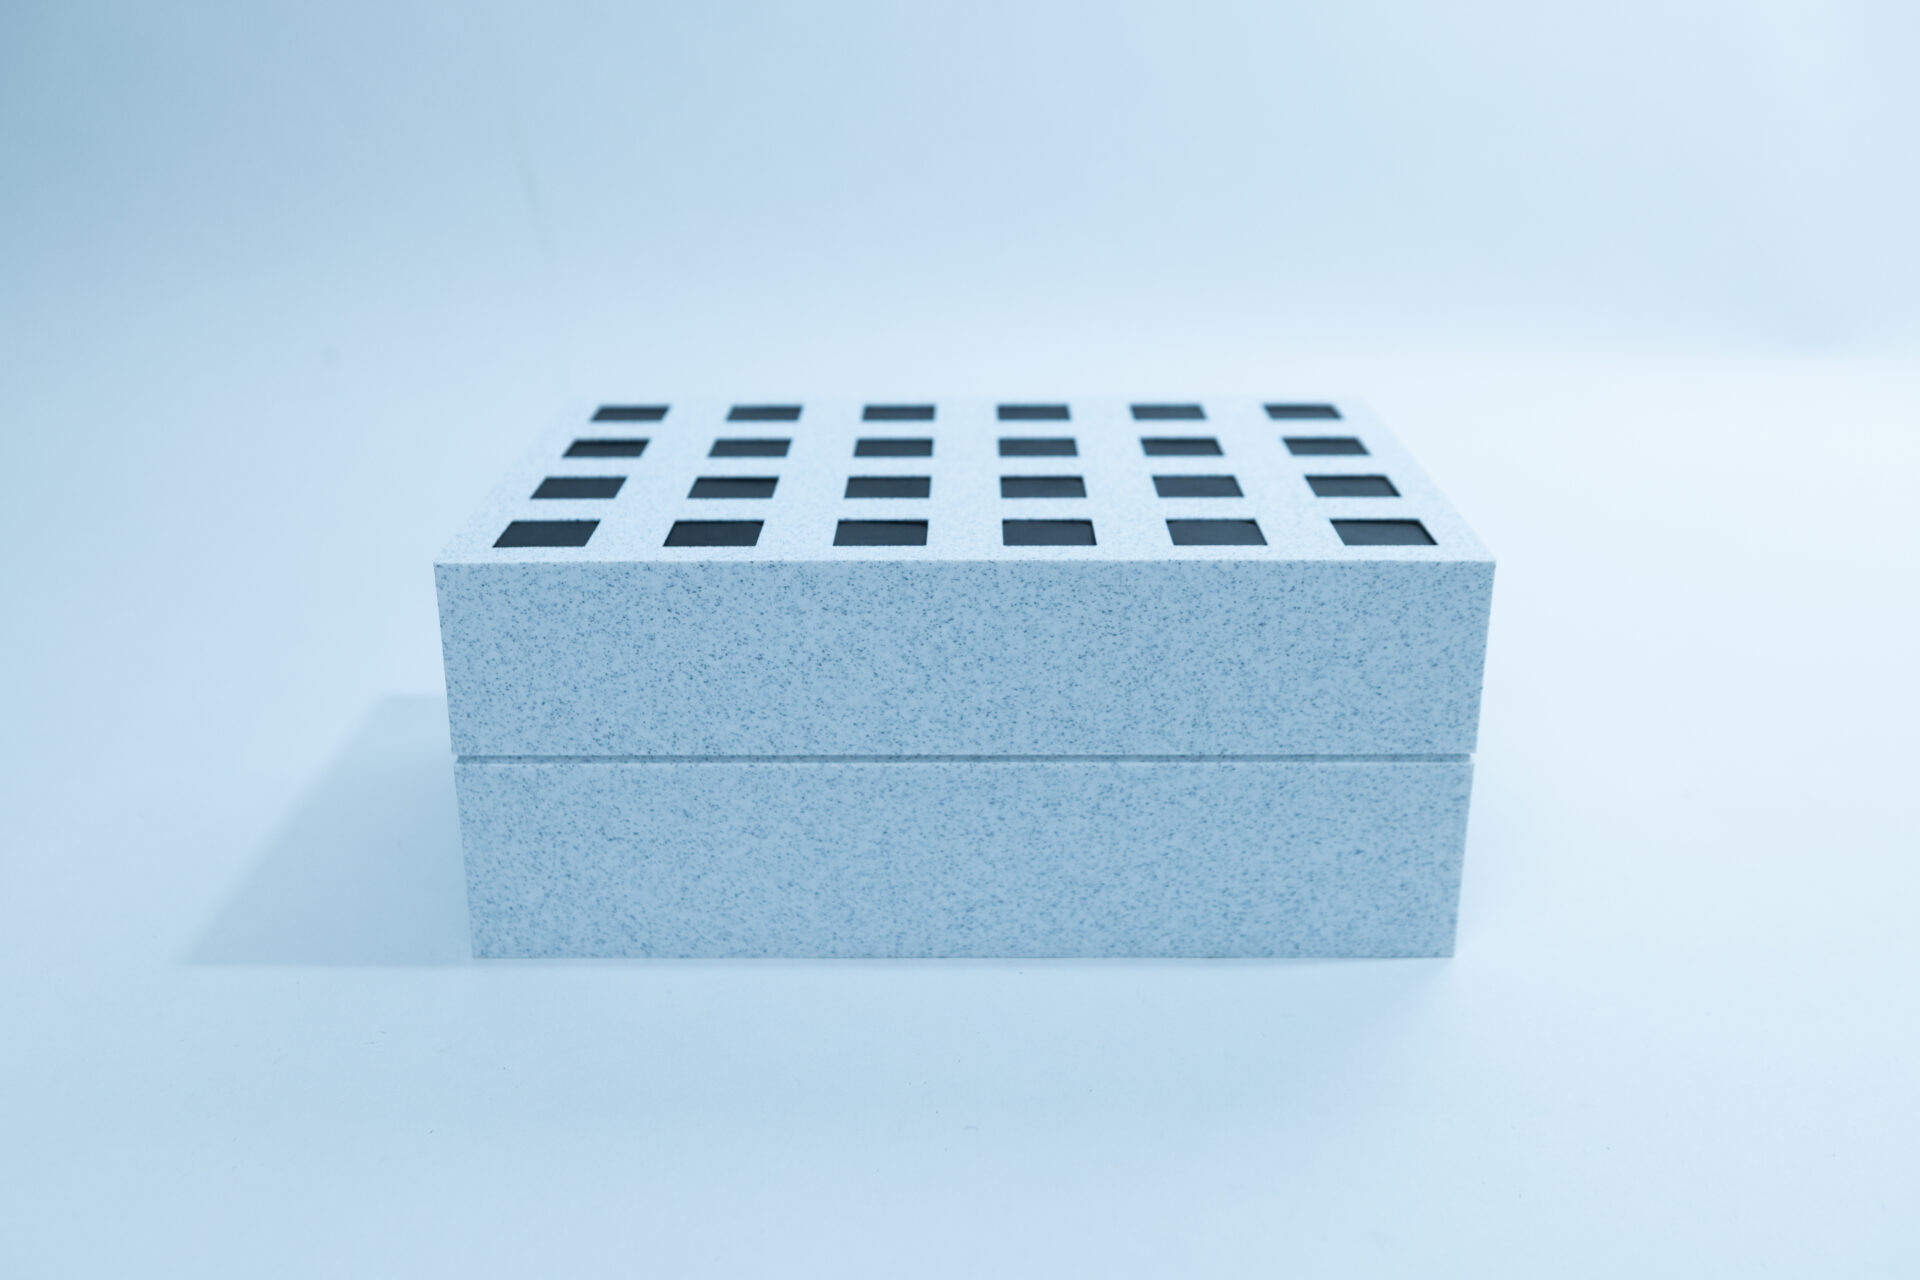
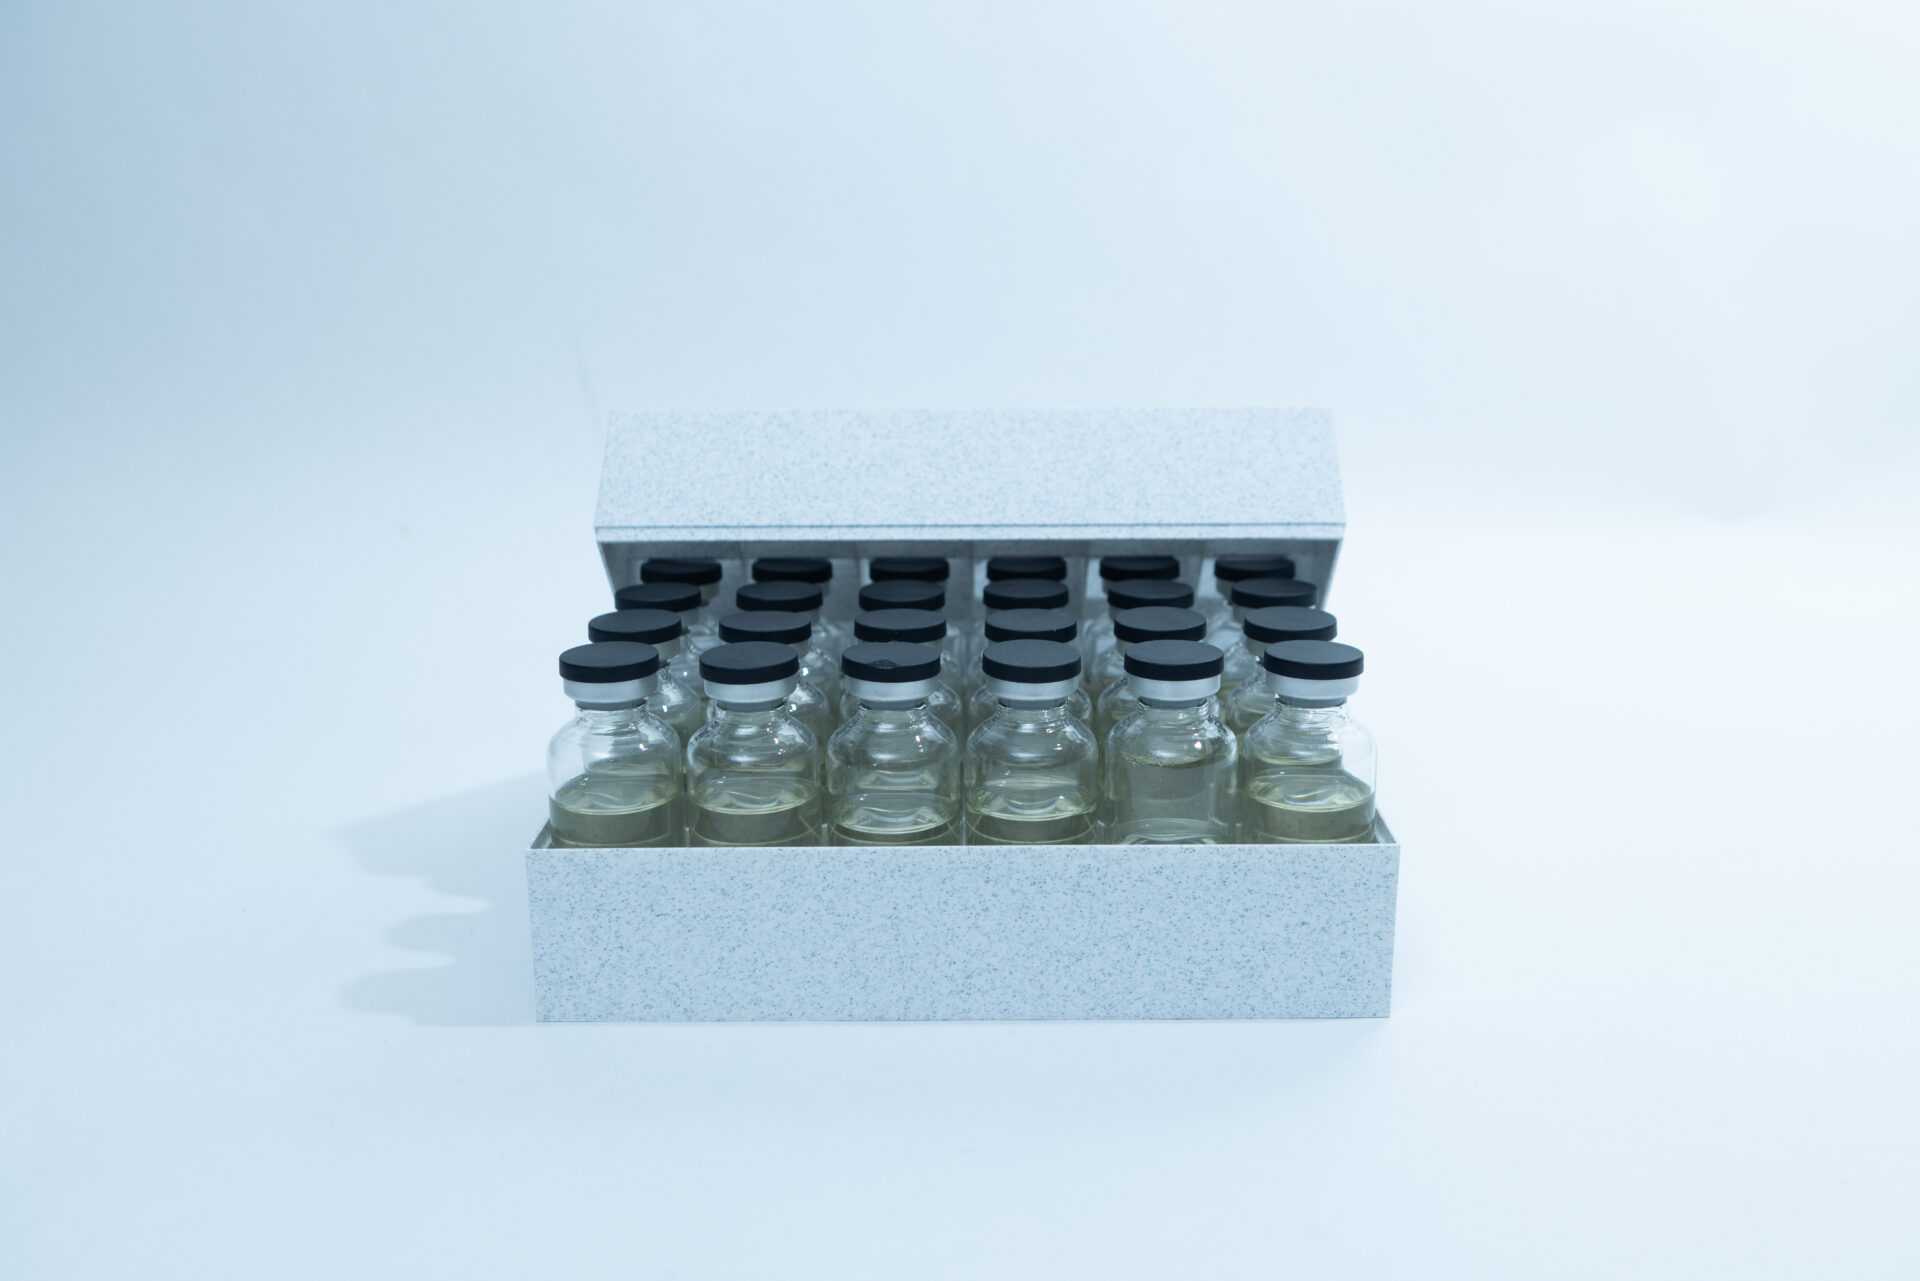
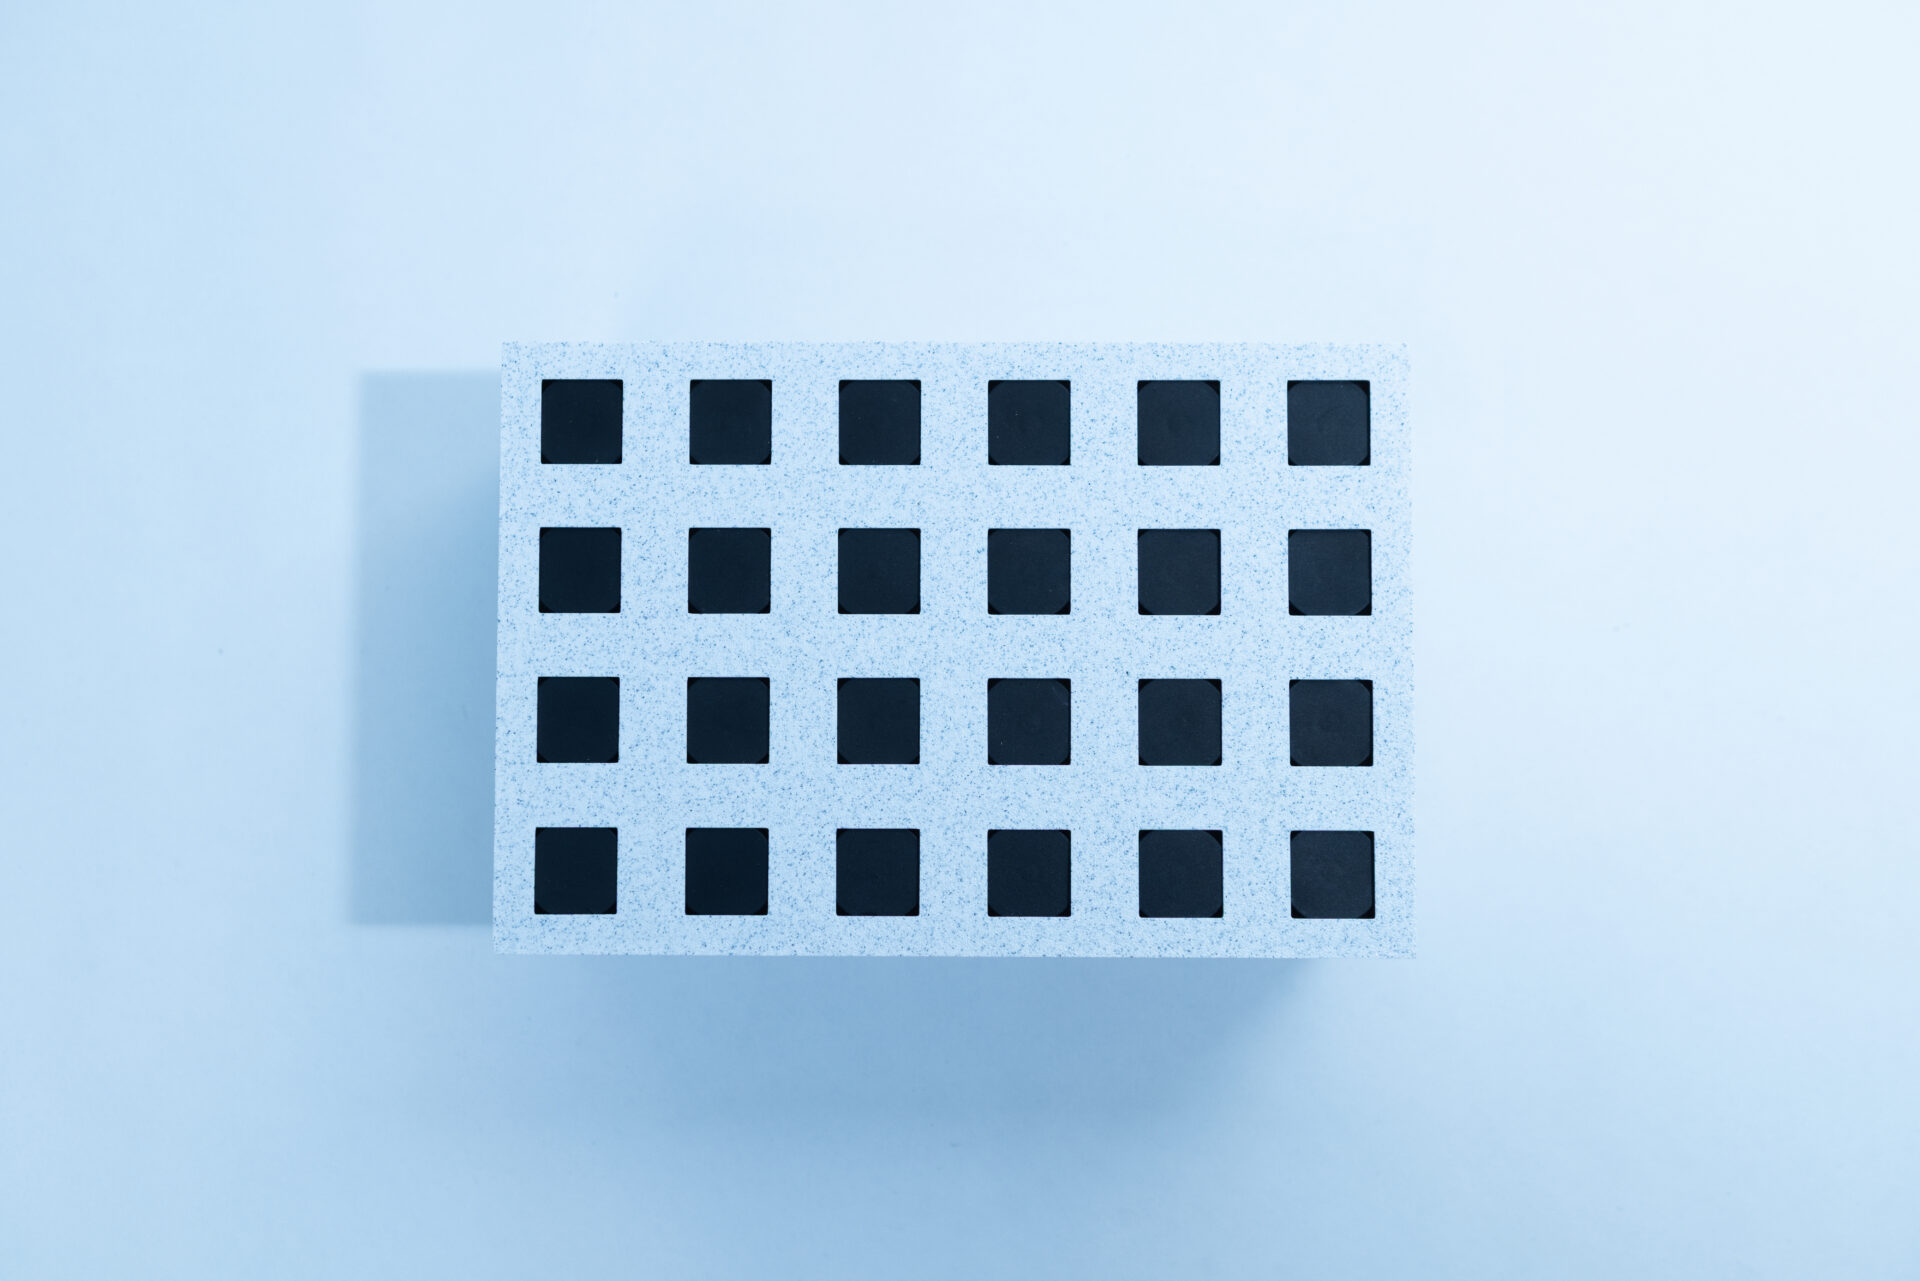
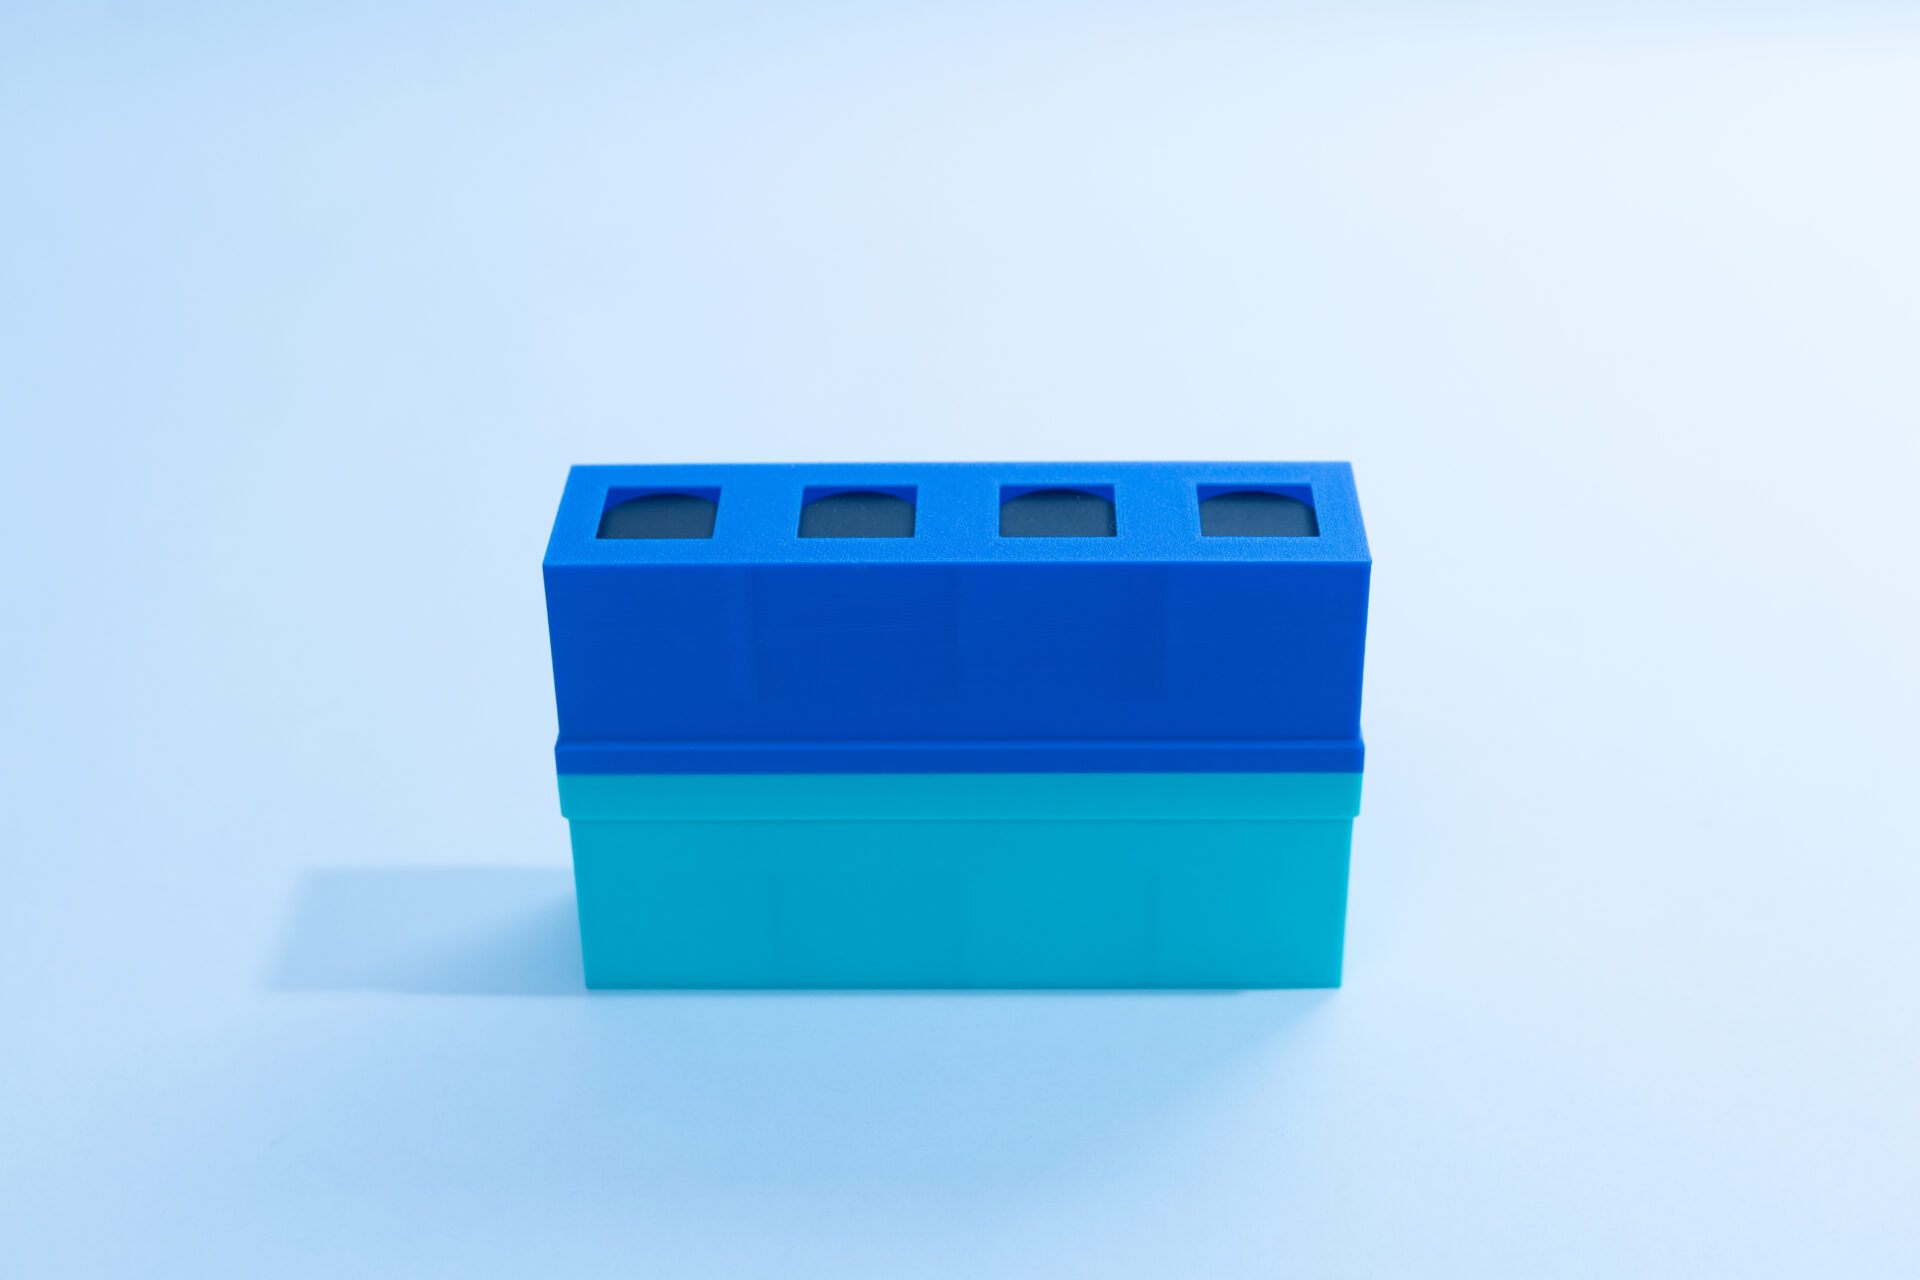
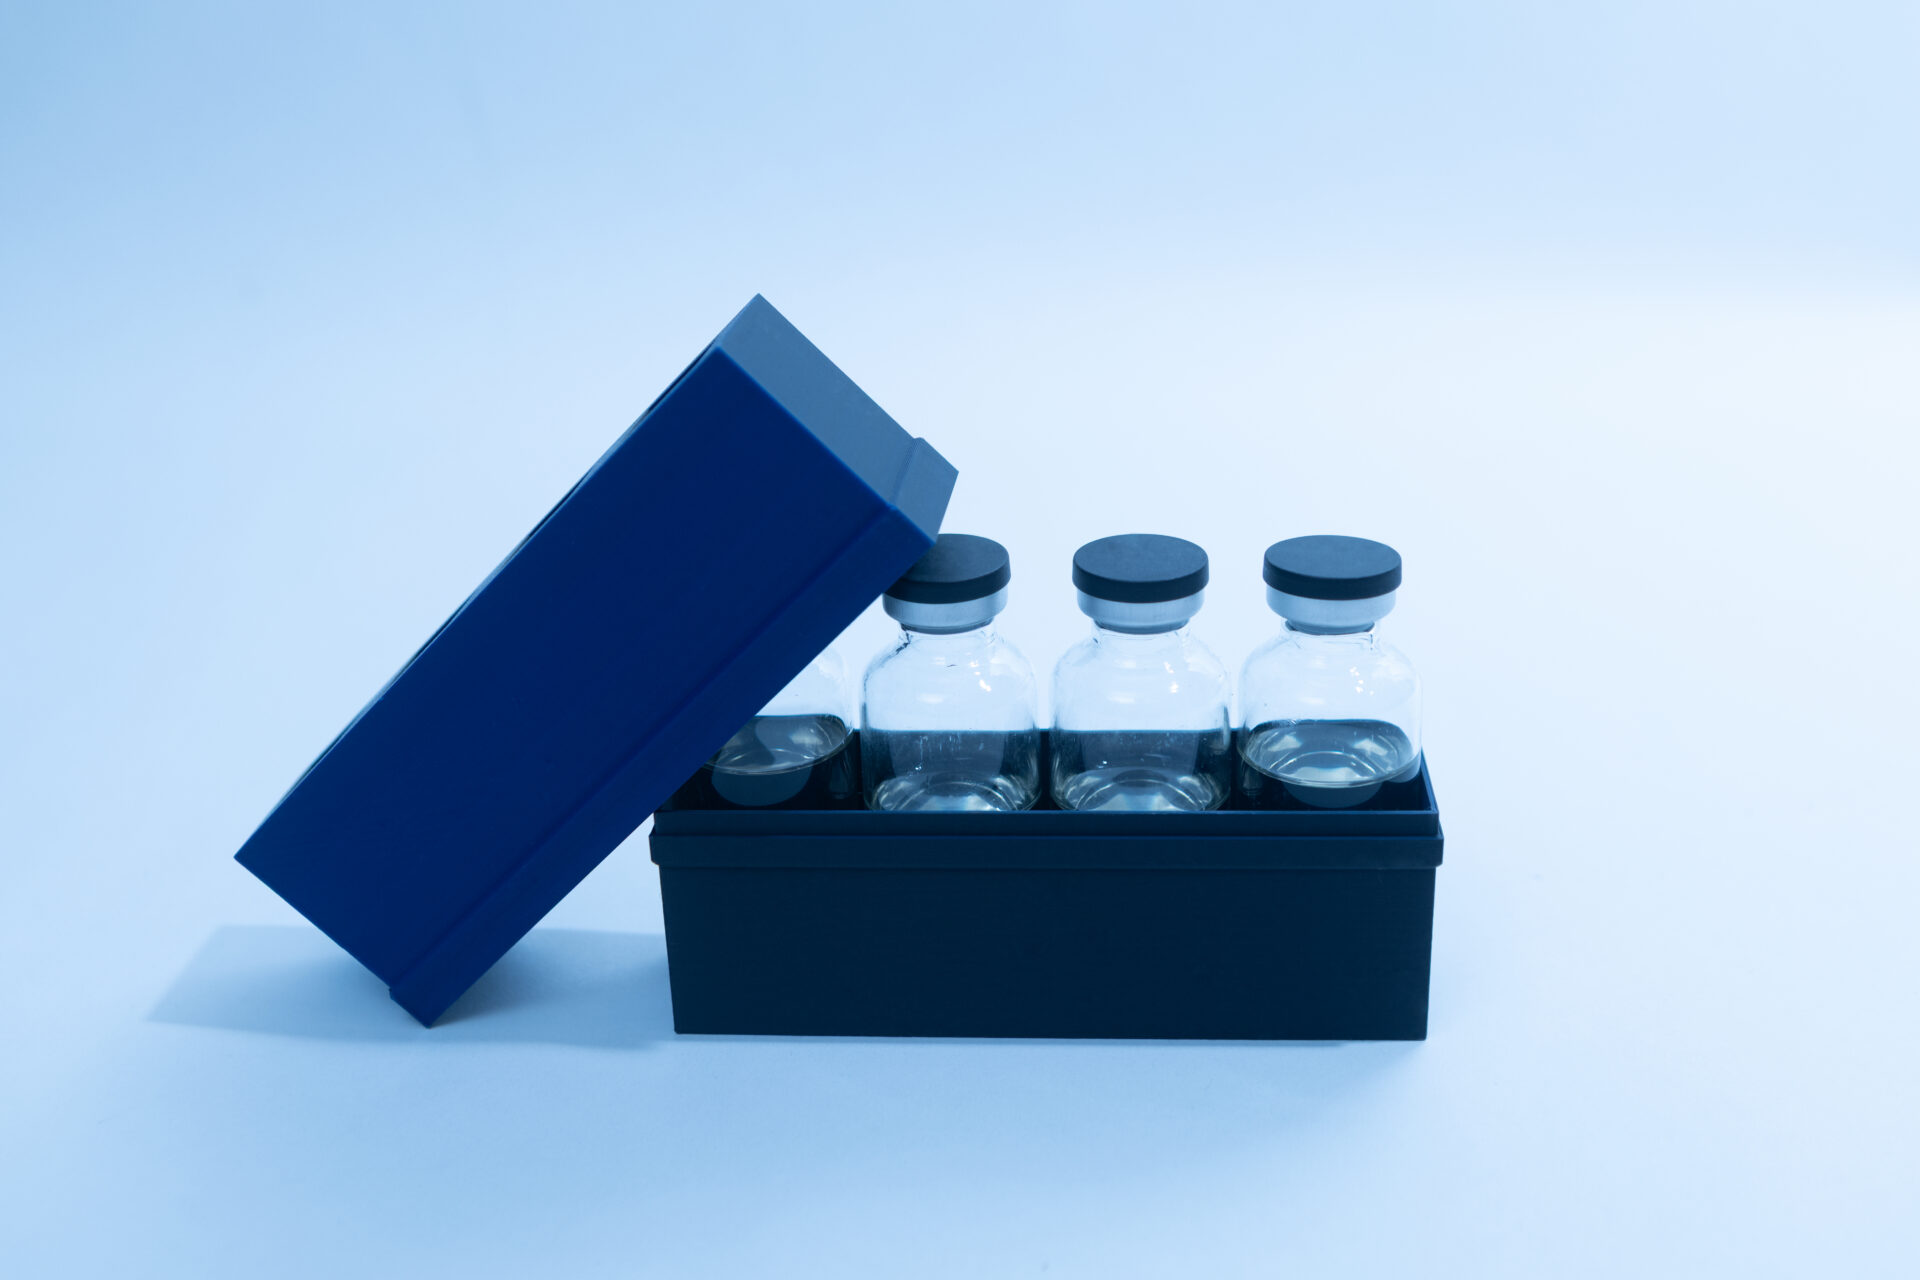
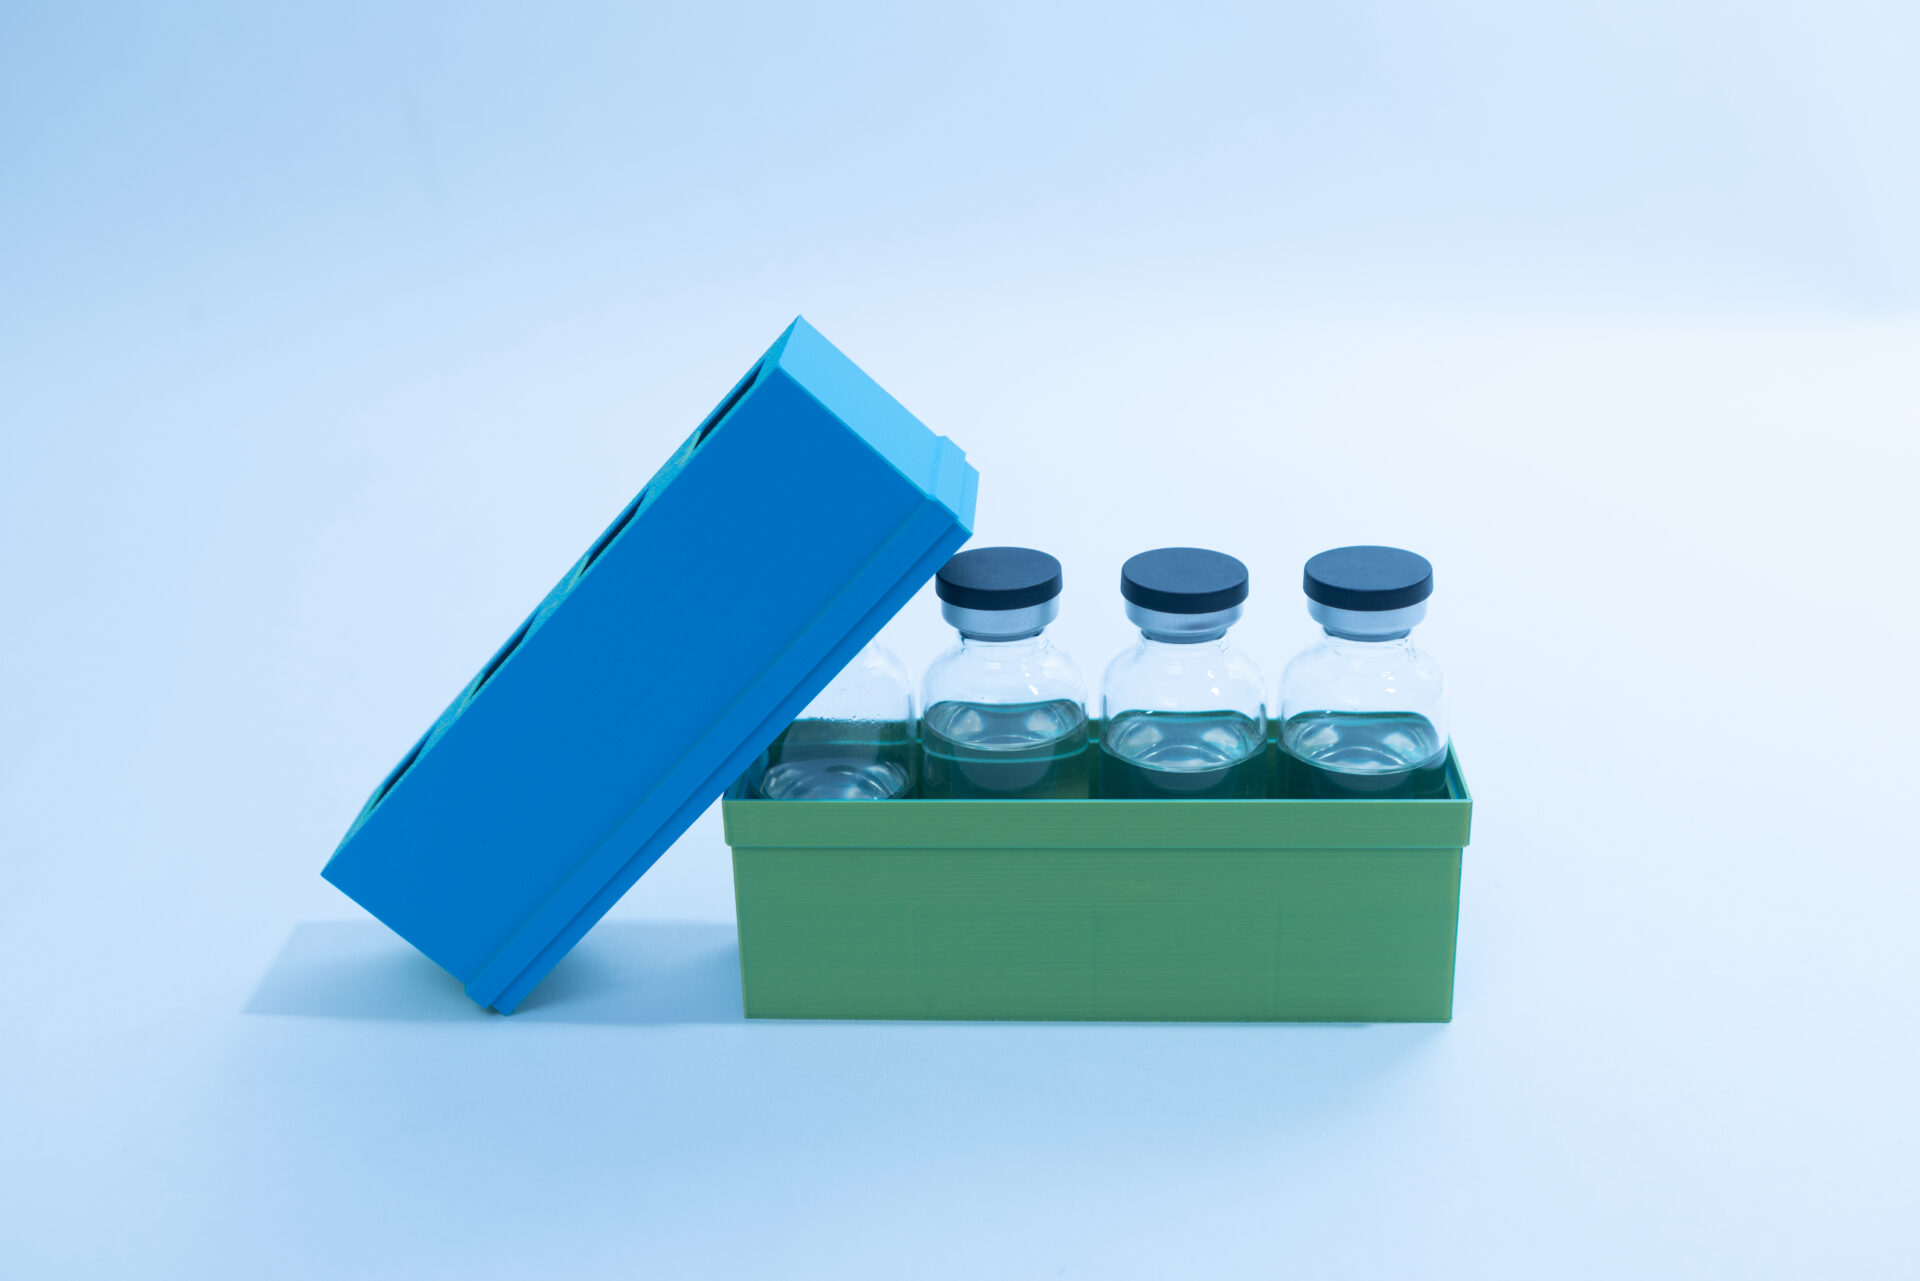
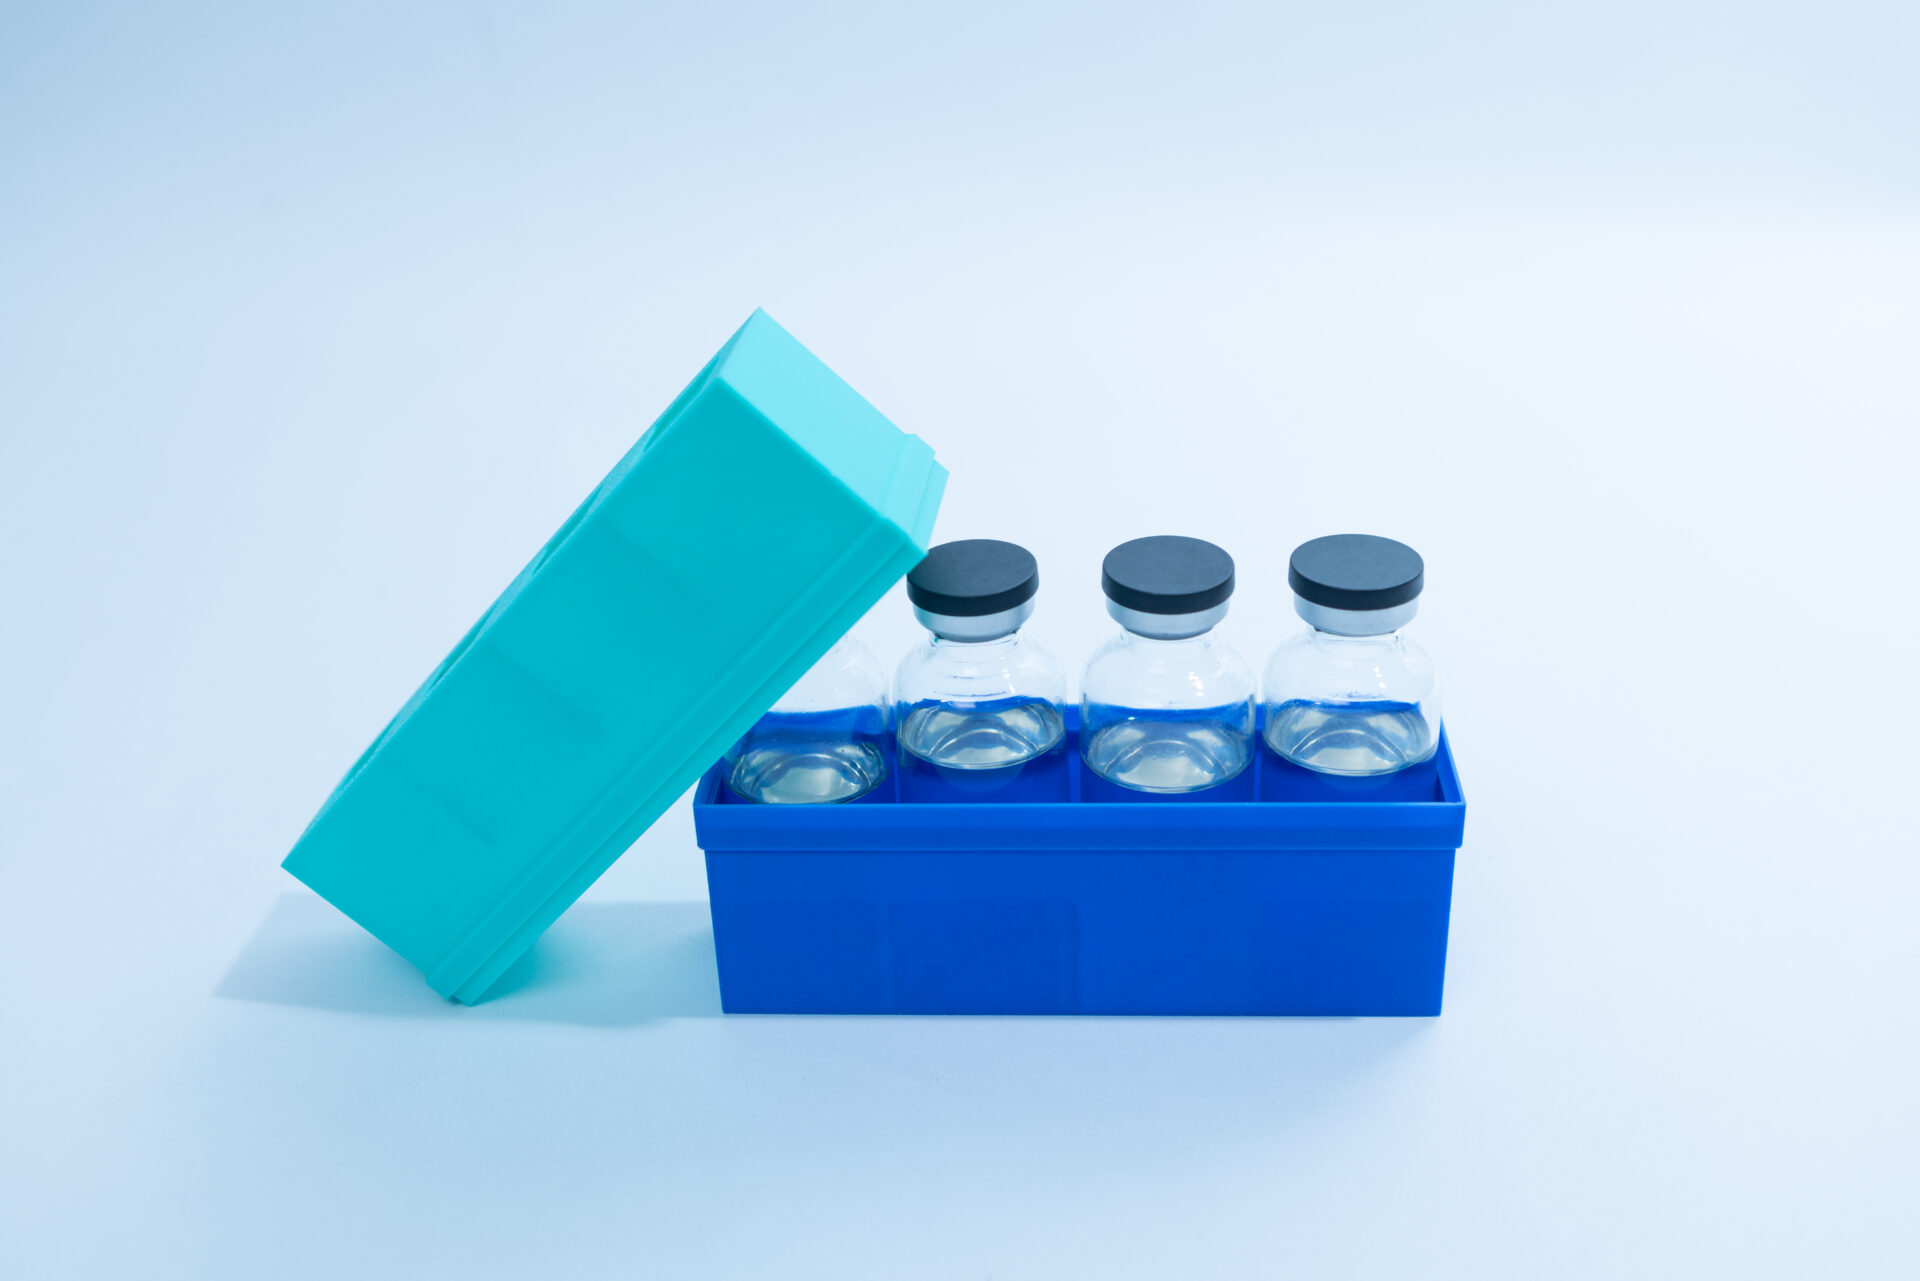
pack of 4 and 24 comes with a 3D printed Transport cover which acts as a storage, both base and lid is identical, so you can store double the mount of vials in those stands.3D printed covers are supplied in mixed colours. We print in batches and colour is allocated at random. Colour requests cannot be accommodated.If it is a stand, a rack, a light shield and a shipping guard.Highly recommended to get one and it looks cool in your lab.
The reason most home growers never touch liquid culture is not skill. It is the steriliser.
To make LC yourself you need a pressure cooker or autoclave, jars, injection port lids, a stirrer and the confidence to run a pressure vessel at 15 psi in a home kitchen. That is several hundred dollars and a weekend before you produce a single millilitre. Plenty of people buy one liquid culture syringe, use it once, and stop there, because the next step needs equipment they do not own.
A pre-filled, pre-sterilised, crimp sealed vial removes that barrier entirely. The sterilisation has already happened in our lab under validated conditions.
What can you do with these vials?
One syringe becomes ten. Buy a single 10 ml liquid culture syringe of a strain you like. Test it first, then inject 1 ml into each of ten vials. You now have roughly 200 ml of colonising liquid culture from one purchase, with no sterilisation step anywhere in the process. Ten vials will inoculate twenty grain bags.
You can clone your own fruits. Grew something excellent from a fruiting block Take a tissue clone straight into a vial and keep that genetic line, without ever pouring a plate.
You can clone in the field. Pre tape your vials, carry a marker, and bring back living tissue from a foraged find instead of a mushroom that has turned to mush by the time you get home.
You can step up gradually. Nothing here stops you buying a pressure cooker later. These vials mean you can do real culture work in the meantime, and by the time you do buy one you will already know what you are doing.
Whats in your vials
Each 30 ml vial holds 18 to 22 ml of Dr Myc Adaptive Liquid Culture, made to the standard Dr Myc recipe, leaving deliberate headspace. That headspace is not wasted volume. It carries the dissolved oxygen your mycelium needs and gives you room to swirl without pushing liquid into the septum.
Why this media.
Dr Myc’s Adaptive Liquid Culture Premix was developed for professional and at home mycologists, and optimises liquid culture preparation for ease of use and rapid colonisation both in the vessel and in grain spawn or substrate after inoculation. Three features matter most in a sealed vial.
Close to clear
The formula is close to clear, which lets growth be observed easily and contamination be identified quickly. Nothing settling at the bottom to be mistaken for either.
Balanced and self limiting
Carbohydrate content is set precisely so the vessel fills without leaving excess sugars, which preserves cultures by slowing metabolic rates and maintaining pH stability. That is what makes storage practical and elongates shelf life with more than other competitors.
Enzymatically adapted for grain
An adaptation blend formulated to promote the enzymatic adaptations needed for rapid colonisation of various grain types after inoculation. Whether you run rye, millet, sorghum or wheat, the culture transfers across and gets moving.
Butyl septum, not red rubber
This matters more than it sounds. Butyl is the standard for pharmaceutical injection vials because it is genuinely self healing, so it reseals cleanly after the needle comes out rather than leaving an open track. It also tolerates repeat piercing far better than red rubber, which cores and crumbles after a few punctures and can drop fragments into your culture. Butyl has much lower gas permeability as well, so your vial holds its seal and its atmosphere in storage. When you are relying on a single barrier between your culture and the room, the material of that barrier is not a detail.
WHAT YOU WILL NEED, NOT INCLUDED-depending on application
- 14 gauge needles. Wider bore than standard so they do not clog on tissue.
- Sterile syringes
- 70 percent isopropyl alcohol in a spray bottle – if you use the alcohol wipes, be careful to apply it in a way to not cut your hands from sharp edges once you open the vial.
- MEA plates or cups for testing
- Gloves and a mask.
- A still air box or flow hood is helpful
Lets dive into the different scenarios you can use these vials:
USE 1: CLONING FROM A FRESH MUSHROOM
You will need a 14 gauge needle. The wide bore is not optional. A fine needle 18 G which is standard in mycology will clog on tissue.
- Wipe your bench and gloves with 70 percent isopropyl alcohol.
- Lift off the black dust cover to expose the butyl septum. Leave the aluminium crimp seal in place.
- Spray or wipe the septum with 70 percent isopropyl and let it dry.
- Fit the 14 gauge needle to a syringe, push through the centre of the septum and draw up a few millilitres.
- Withdraw the needle and use the tip to tear a small fragment from your mushroom. Tear rather than cut. Tearing does not poke a possibly unclean knife or scalpel in mushroom tissue.
- Rest the mushroom on a clean surface and work away from your fingers. A 14 gauge needle goes through skin very easily.
- Take interior tissue from the stem base, or from where the stem meets the cap. Avoid the outer skin, gills and pores, which carry the most contamination. We tear the mushrom to show the unexposed inside parts that are not contaminated.
- Push the needle back through the septum and squirt the liquid and tissue into the vial. If you can see mushroom pieces suspended in the broth, you have successfully taken a clone.
- Replace the dust cover, label with species, source and date, and incubate at around 22°C in dark.
- It is easier to clone a big fat mushroom than a tiny spindly mushroom. Choose your specimen wisely.From a specimen that has fully developerd but not sporulated yet.The specimen should be from a uncompromised grow bag that is not stressed or infected or contaminated.
USE 2: CLONING IN THE FIELD
This one is for experienced cultivators. Field cloning means you do not have to bring the specimen home, which matters when the fruit will be past saving by the time you get back, or when you cannot practically collect it.
Prepare before you leave. Pre tape every vial with masking tape so all you have to do in the field is write on it. Carry a permanent marker. In the field, take the clone as described above, name the sample on the tape and add the date. Photograph the mushroom in place on your phone so the images and the vial can be matched later. Photograph the cap, the gills or pores, the stem base, and the substrate it was growing on. Between the tape and the photos you have a wild clone and a full record of where it came from, without carrying the mushroom home.
Be realistic about the odds. Wild tissue carries far more contamination than a clean indoor fruit, and outdoor air is not a still air box. Take several fragments from the same specimen into separate vials. The second or third attempt is usually the one that takes. Enver clone form a damaged or parts consumed by animals or infected. Choose your specimen well. Do not leave syringe or needle in the wild. Practising and imagining all steps in your head before going in wild for the first time helps.
Do not worry if the vial is contaminated with bacteria. You can take some liquid from vial and pour on MEAG plate to clean the culture and still save it.
USE 3: AGAR TO LC
If you already have a clean plate, this is the highest success rate route into liquid culture.
Sanitise the septum as above. Draw a few millilitres into the syringe. Use the 14 gauge needle tip to stab and lift a small piece of mycelium and agar from the leading edge of growth on your plate, since the edge is the youngest and most vigorous tissue. Push the needle back through the septum and squirt the piece into the vial. Swirl to dislodge it and make sure it is submerged rather than stuck to the glass.
USE 4: SPORE TO LC
Spores can go straight into a vial, but understand what you are getting. A spore inoculation produces a multispore culture, a mix of genetics rather than a single defined strain. It works, and it is how many people start, but if you want a consistent strain you should germinate on agar first and isolate.
Start with a spore print or syringe, then either take it through agar first or inoculate the vial directly.
Spore print to spore syringe kit
Spore to agar transfer kit
USE 5: EXPANDING ONE SYRINGE INTO MANY VIALS
This is where the 24 and 50 packs earn their keep.
Buy or make a 10 ml liquid culture syringe. Test it first. Put a single drop onto an MEA plate or cup, seal it and wait 5 to 10 days. If you see clean white mycelium and nothing green, black, pink or slimy, your syringe is good. If you see anything else, stop. You are about to multiply the problem across twenty vials.
Once the syringe passes, sanitise the septum on each vial with 70 percent isopropyl, then inject 1 ml into each. A 10 ml syringe will seed roughly ten vials, giving you around 200 ml of colonising liquid culture from a single syringe.
How much to inject
One millilitre is enough for vigorous species and fresh, actively growing culture. Increase to 2 or 3 ml for slower species , and for any culture that has been sitting in the fridge for a while. An older or slower culture has fewer viable growing tips per millilitre, so a larger starting dose gives it the head start it needs to colonise before anything else gets going. When you are unsure, err on the larger side. Under-inoculating is the most common reason a vial stalls.
You can expand vial to vial the same way, drawing from a colonised vial into fresh ones.
A caution on repeated transfers. Every LC to LC generation moves the strain further from the original. It stays fine for a while and then it does not. Vigour drops, colonisation slows, and eventually the culture will not perform at all. As a rough guide you will not see problems before the fourth or fifth generation, and hardy species such as oysters tolerate considerably more. Slower and fussier species, Maitake and Cordyceps among them, degrade noticeably sooner, becoming less vigorous and ultimately dying out. If you are working with those, go back to agar or to a stored master culture rather than chaining vials indefinitely.
WORKING WITH THE VACUUM
Your vial is sealed. There is no filter patch and no way for air to get in, which is exactly why it stays sterile. It also means that every time you draw liquid out, you create a partial vacuum inside.
You will feel this. The plunger fights you slightly on the way back, and the suction gets stronger with each draw as the headspace expands and the pressure inside drops.
Two things to know about it.
Your mycelium is fine, but it is not unlimited. A mild vacuum does not kill mycelium. What it does is reduce the oxygen available, both in the headspace and dissolved in the liquid. The culture does not die, it slows down. Swirling the vial helps by redissolving what oxygen remains.
The real risk is what gets pulled in. A vial under negative pressure will try to draw air in through the needle track as you withdraw the needle. That air is not sterile. This is the reason to limit punctures, not the oxygen.
So, in practice. Treat each vial as a single working session. Draw once, or two to three times at most, and finish with it in that sitting. If you are expanding into ten fresh vials, do all ten in one go rather than one a week over two months. If you genuinely need to draw from the same vial repeatedly over time.
14G makes much more larger home than a 18G needle. So remeber how many puncture you make.In reality the viall can take about 10 punctures before it starts failing so no need to be overly cautious and careful but being safe is better.
CLOUDINESS ON ARRIVAL
Your vial should arrive close to clear. Dr Myc Adaptive LC is formulated that way, with no sediment sitting at the bottom to confuse you. If a vial arrives cloudy, hazy or discoloured before you have inoculated anything, do not use it. Photograph it and contact us for a replacement. Cloudiness on arrival means the vial is compromised.
TELLING MYCELIUM FROM CONTAMINATION
This is the single most misunderstood thing in liquid culture, so read it carefully.
Healthy mycelium looks like something. It forms visible white tufts, strands, wisps or jelly like clumps suspended in the liquid. You can point at it. The liquid around it stays reasonably clear. Do not mistake jelly like mycelium for cloudiness. They are not the same thing and they do not look the same.
Bacterial contamination is the water itself going cloudy. There is nothing to point at. The liquid turns uniformly milky, murky or yellowish, with no structure suspended in it. That is bacteria multiplying through the medium.
Be patient before you judge, and stay watchful after. Bacterial cloudiness does not always announce itself early. It can take three to four weeks to become obvious. A vial that looked fine at day ten can still turn later, so keep checking right up until you use it, and test before you commit it to grain.
Other clear signs to discard. Any colour other than white, including green, black, pink or grey. A film or scum across the liquid surface. A sour, cheesy or foul smell. Fizzing or pressure in the vial.
When in doubt, test. Put a single drop onto an MEA plate or MEA cup, seal it and wait 5 to 10 days. The plate will tell you plainly what the vial will not.
INCUBATION
Incubate at 20 to 24 degrees, with 22 degrees the sweet spot. Keep out of direct light.
Lower temperatures do not ruin the culture, they simply slow it down. The cooler it is, the longer it takes. If your space sits at 16 or 18 degrees the vial will still colonise, just more slowly. Do not try to compensate with a heat mat pushed too high, as excess heat favours bacteria over mycelium.
Swirl the vial gently every day or two. This does two things at once. It breaks up mycelial clumps so growth spreads through the whole volume rather than sitting as one lump, and it drives oxygen from the headspace back into solution. The 30 ml vial holds 18 to 22 ml of liquid precisely so there is headspace to draw from.
Expect visible white growth within 3 to 10 days for most species, and a fully colonised vial in one to three weeks.
STORAGE OF COLONISED VIALS
Once a vial is fully colonised, refrigerate it at 2 to 4 degrees and plan to use it within two weeks.
The reason is oxygen, not spoilage. Left at room temperature the mycelium keeps growing, and a sealed vial holds a finite amount of dissolved oxygen and headspace. It will eventually exhaust that supply and the culture will decline. Refrigerating slows metabolism right down and preserves the culture. Shake the vial before use to redissolve oxygen from the headspace and break up clumps at the same time.
How long you actually get is strain dependent. Treat two weeks as the working figure for most species. Some customers have reported viable cultures at three weeks, and hardier strains held at 2 to 4 degrees can stretch considerably further, with around six weeks being the outer mark we have seen. Slower and fussier species sit at the short end.
Because it varies, do two things every time. Date every vial when you inoculate it. Test a drop on an MEA plate before using anything stored longer than a fortnight. A five day plate test costs almost nothing and protects a whole grain bag.
FAQ
Can you refill the vials once used?
NO, they are supposed to be disposed.If you think you will use a lot of vials, having a decrimping tool hlps you to remove the crimper and possibly reuse the vial.
WILD MUSHROOM IDENTIFICATION WARNING
Important. Cloning a mushroom does not identify it. This product will grow mycelium from whatever tissue you put in it, including tissue from a deadly species.
Australia has genuinely lethal fungi growing in suburban parks, gardens and bushland. Death cap, Amanita phalloides, is established in the ACT, Victoria and parts of New South Wales and is responsible for most fatal mushroom poisonings in this country. It is regularly mistaken for edible species. Galerina and Lepiota species are also present and also lethal. Some of these grow alongside, and closely resemble, mushrooms people forage deliberately.
Never eat any mushroom, and never eat anything grown from a wild clone, on the basis of a phone app, a social media post or a single field guide photograph. Use more than one method, confirm with an experienced forager or your state fungal society, and take a spore print. If you are not certain, do not eat it.
If you suspect mushroom poisoning, call the Poisons Information Centre on 13 11 26 immediately, or 000 in an emergency. Do not wait for symptoms, and take a sample of the mushroom with you.
Cloning wild finds for study, culture work and record keeping is a legitimate and rewarding practice. Eating something because you cloned it successfully is not.